


Ninten-Drawer
Ninten-Drawer
Share
Couldn't load pickup availability
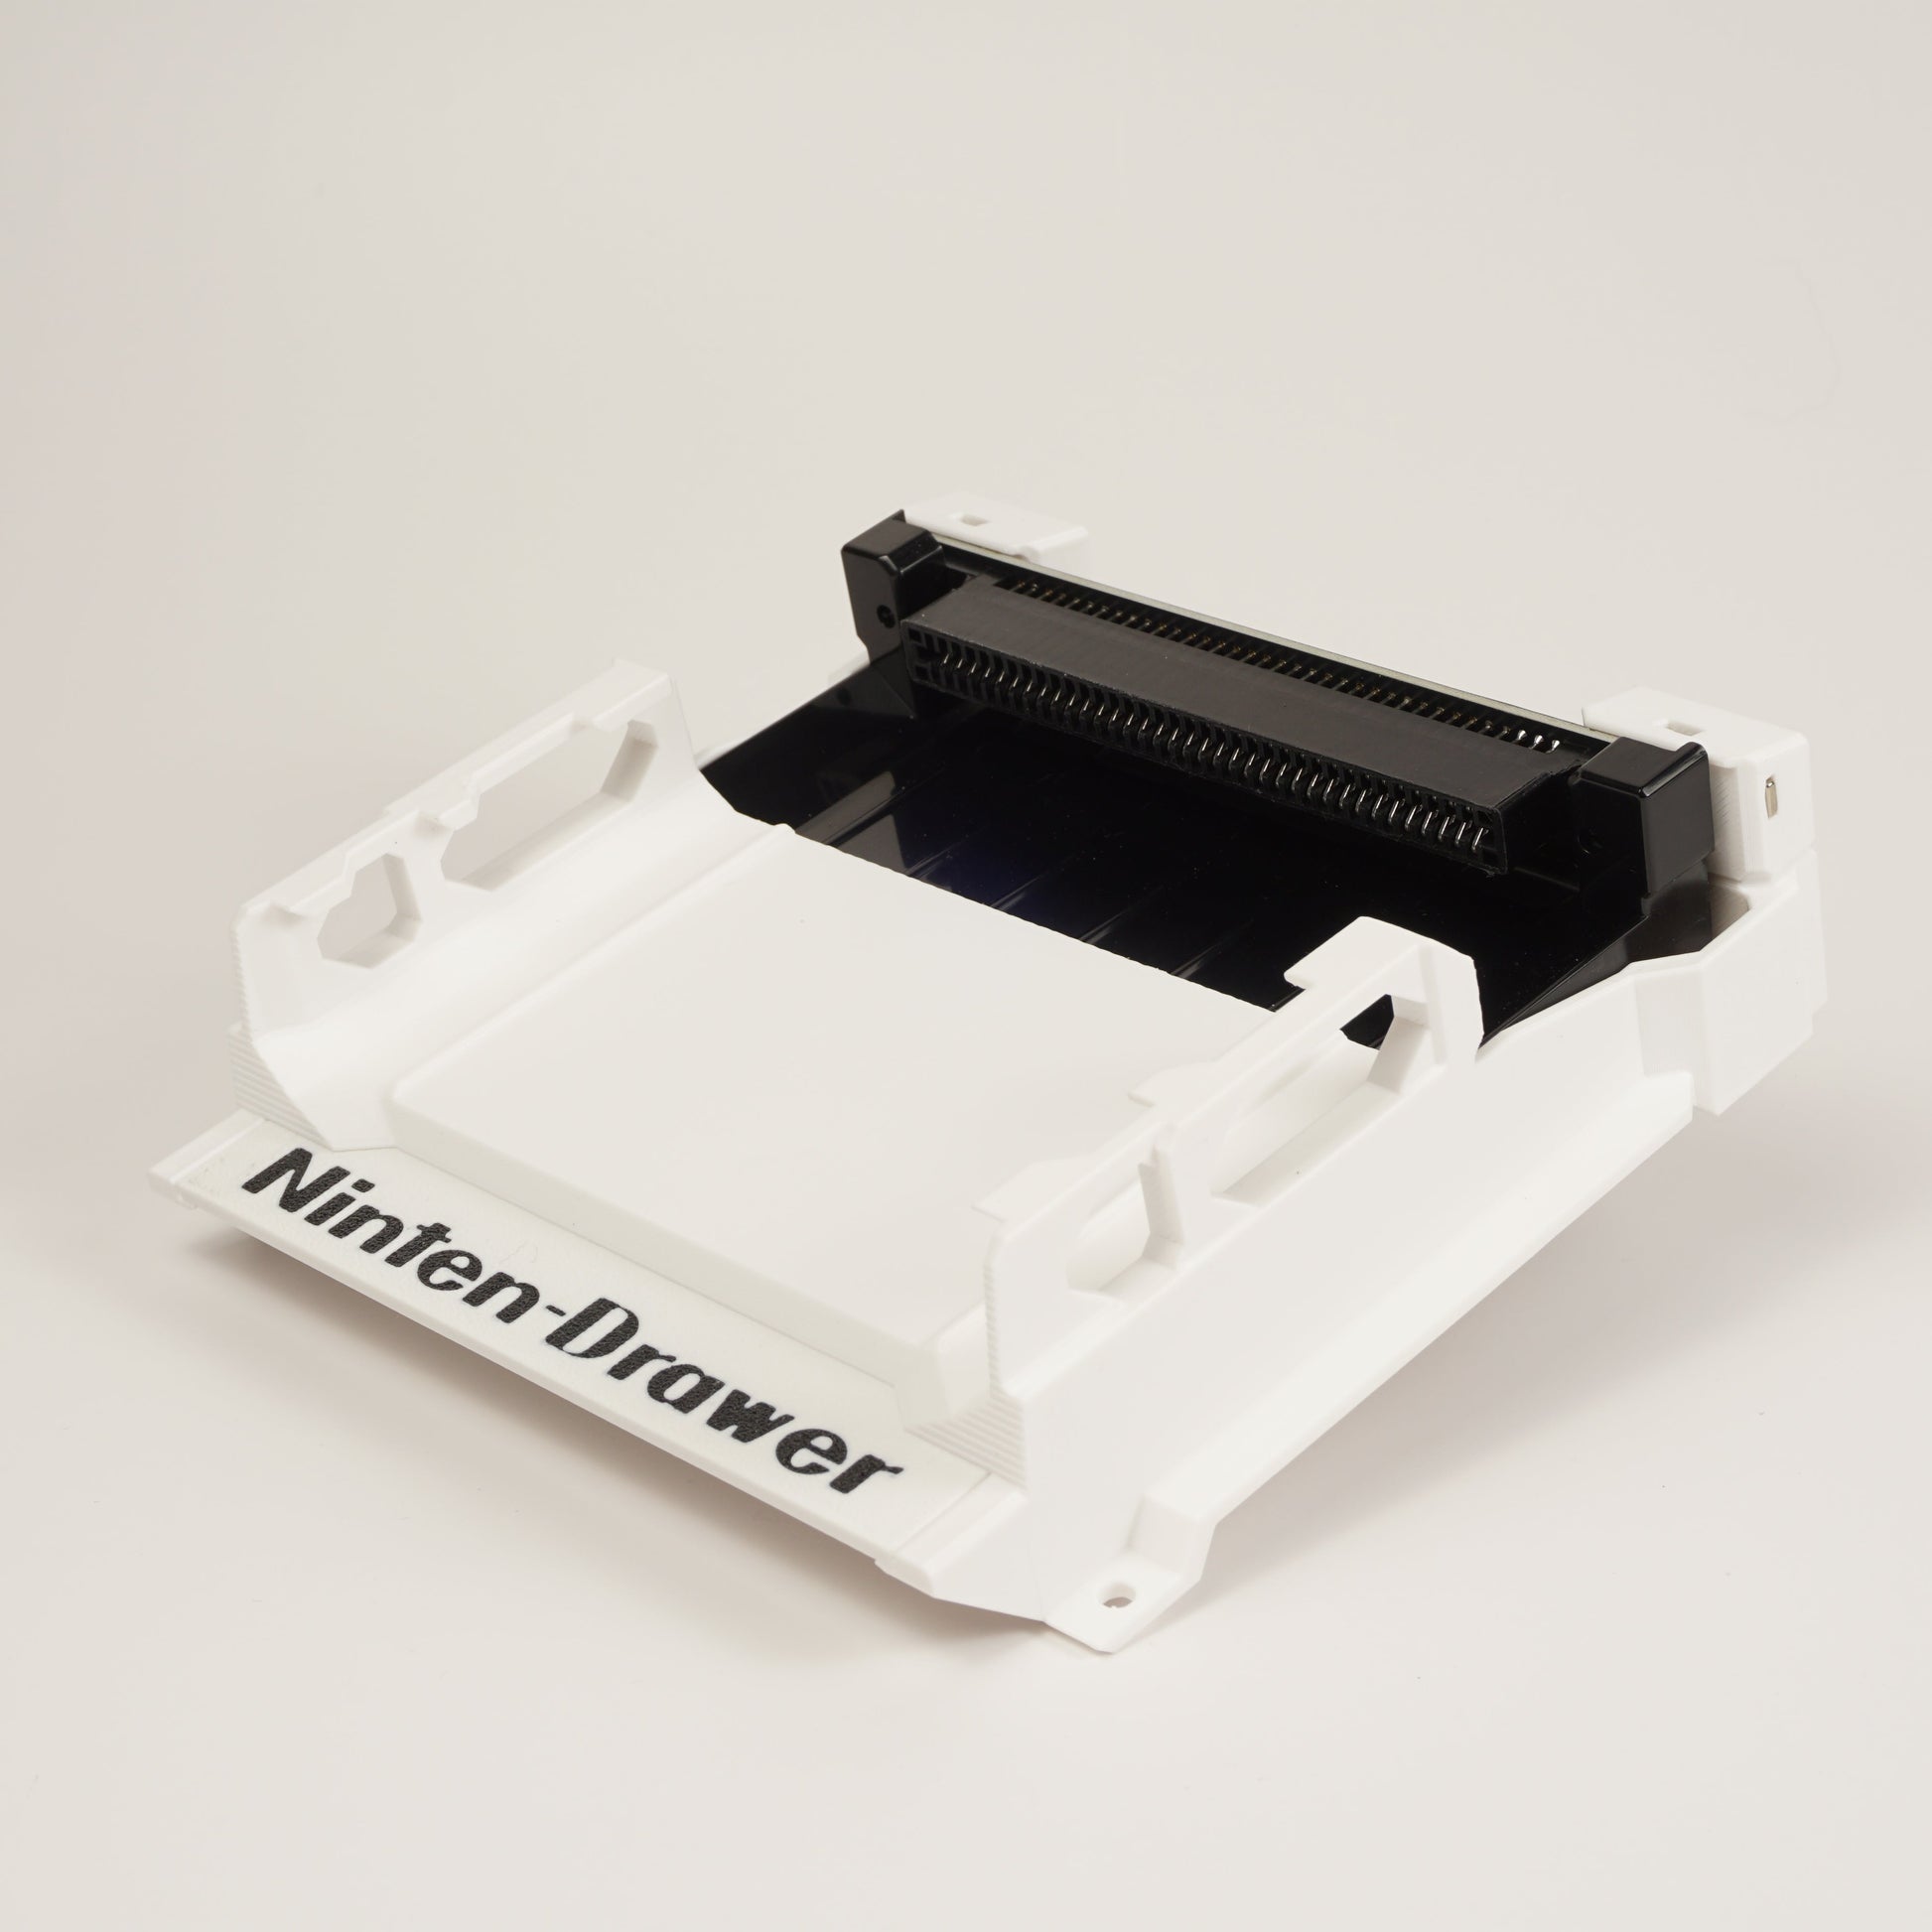
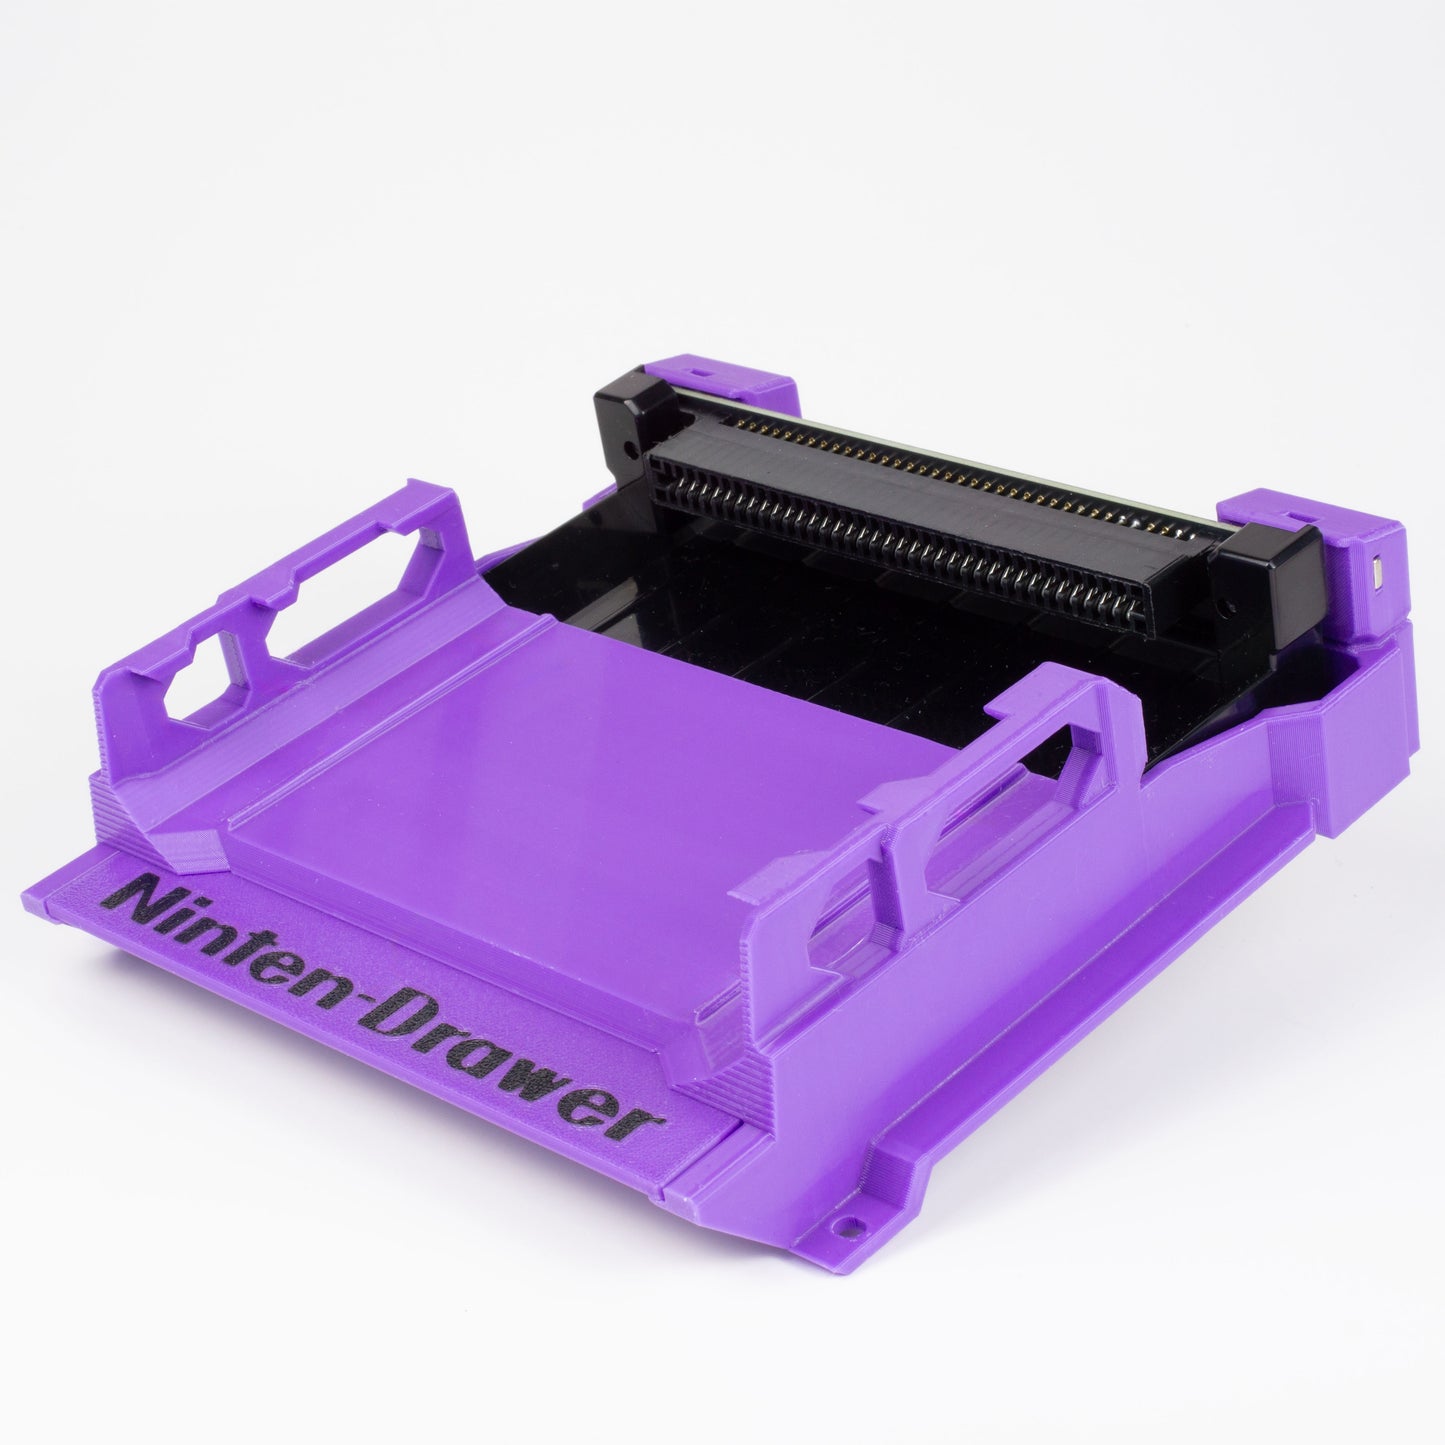
The Ninten-Drawer fixes the front-loader’s reliability at the root by replacing the failure-prone push-down tray + aging 72-pin contact behavior with a Toploader-style slot, consistent cartridge seating, and an integrated lockout/region bypass—while keeping the classic front-loader experience.
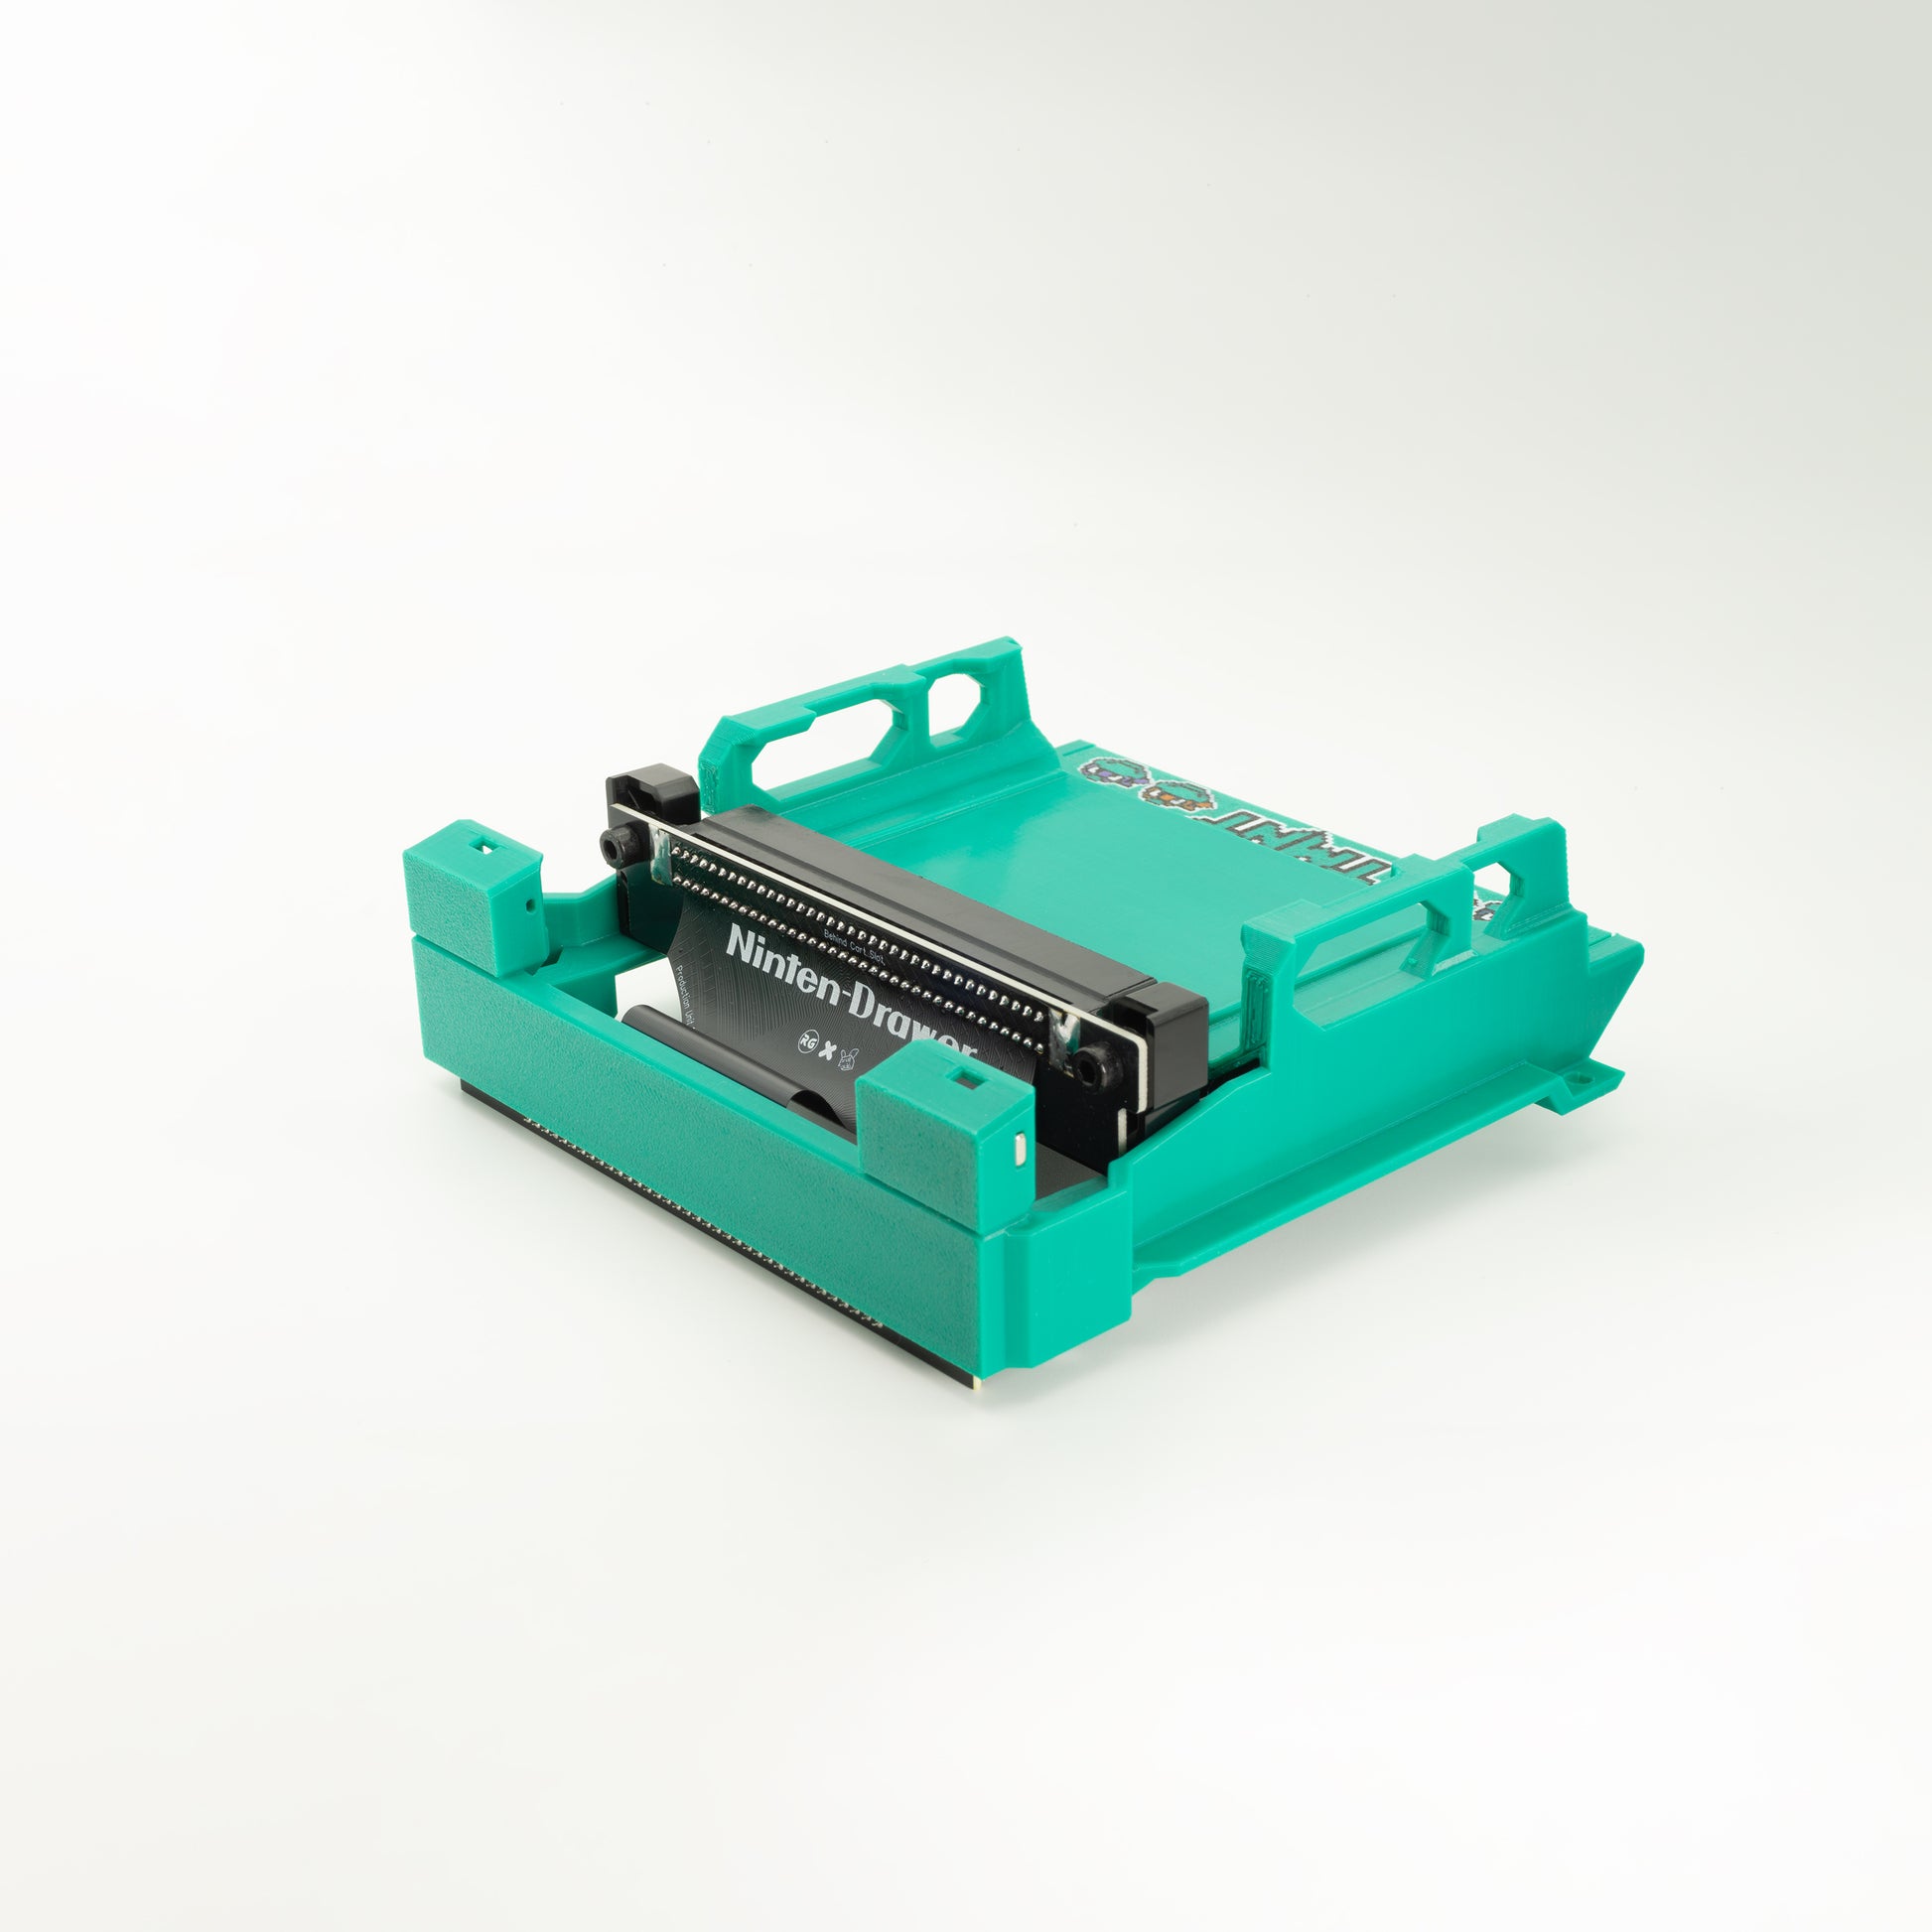
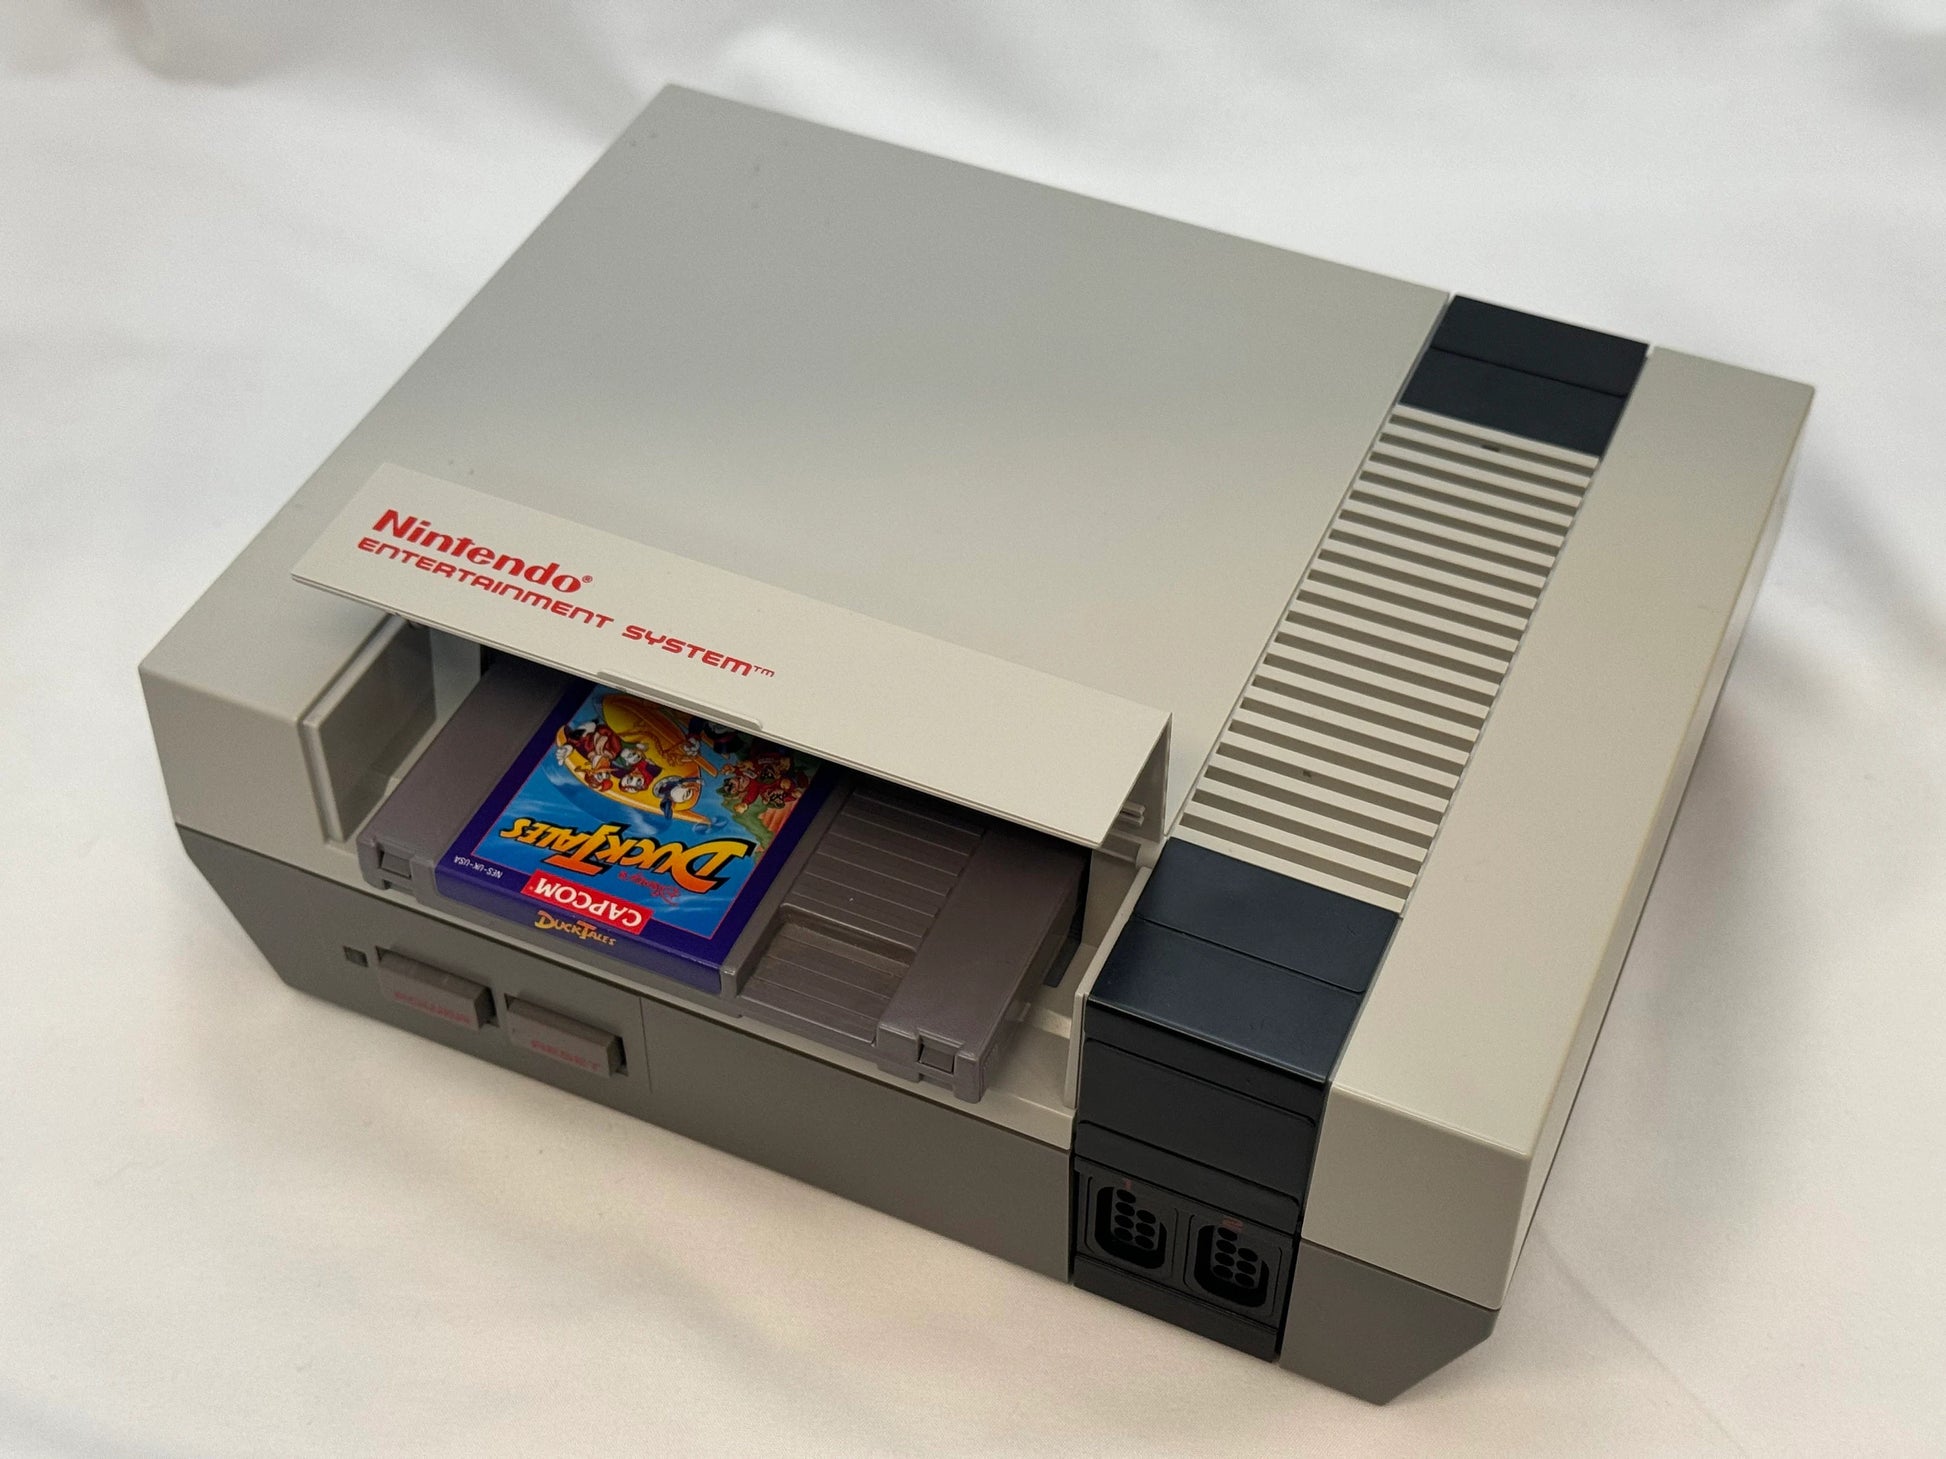
The original front-loading NES ("toaster") is iconic… and notorious. Over time, the push-down tray design gradually deforms the connector pins and turns game loading into a ritual: reseat, reset, wiggle, repeat—often ending in the dreaded blinking red light. The Ninten-Drawer replaces the entire tray + connector experience with a Top-Loader-style cartridge slot and a smooth, satisfying drawer mechanism that makes reliable booting feel "new NES" again.
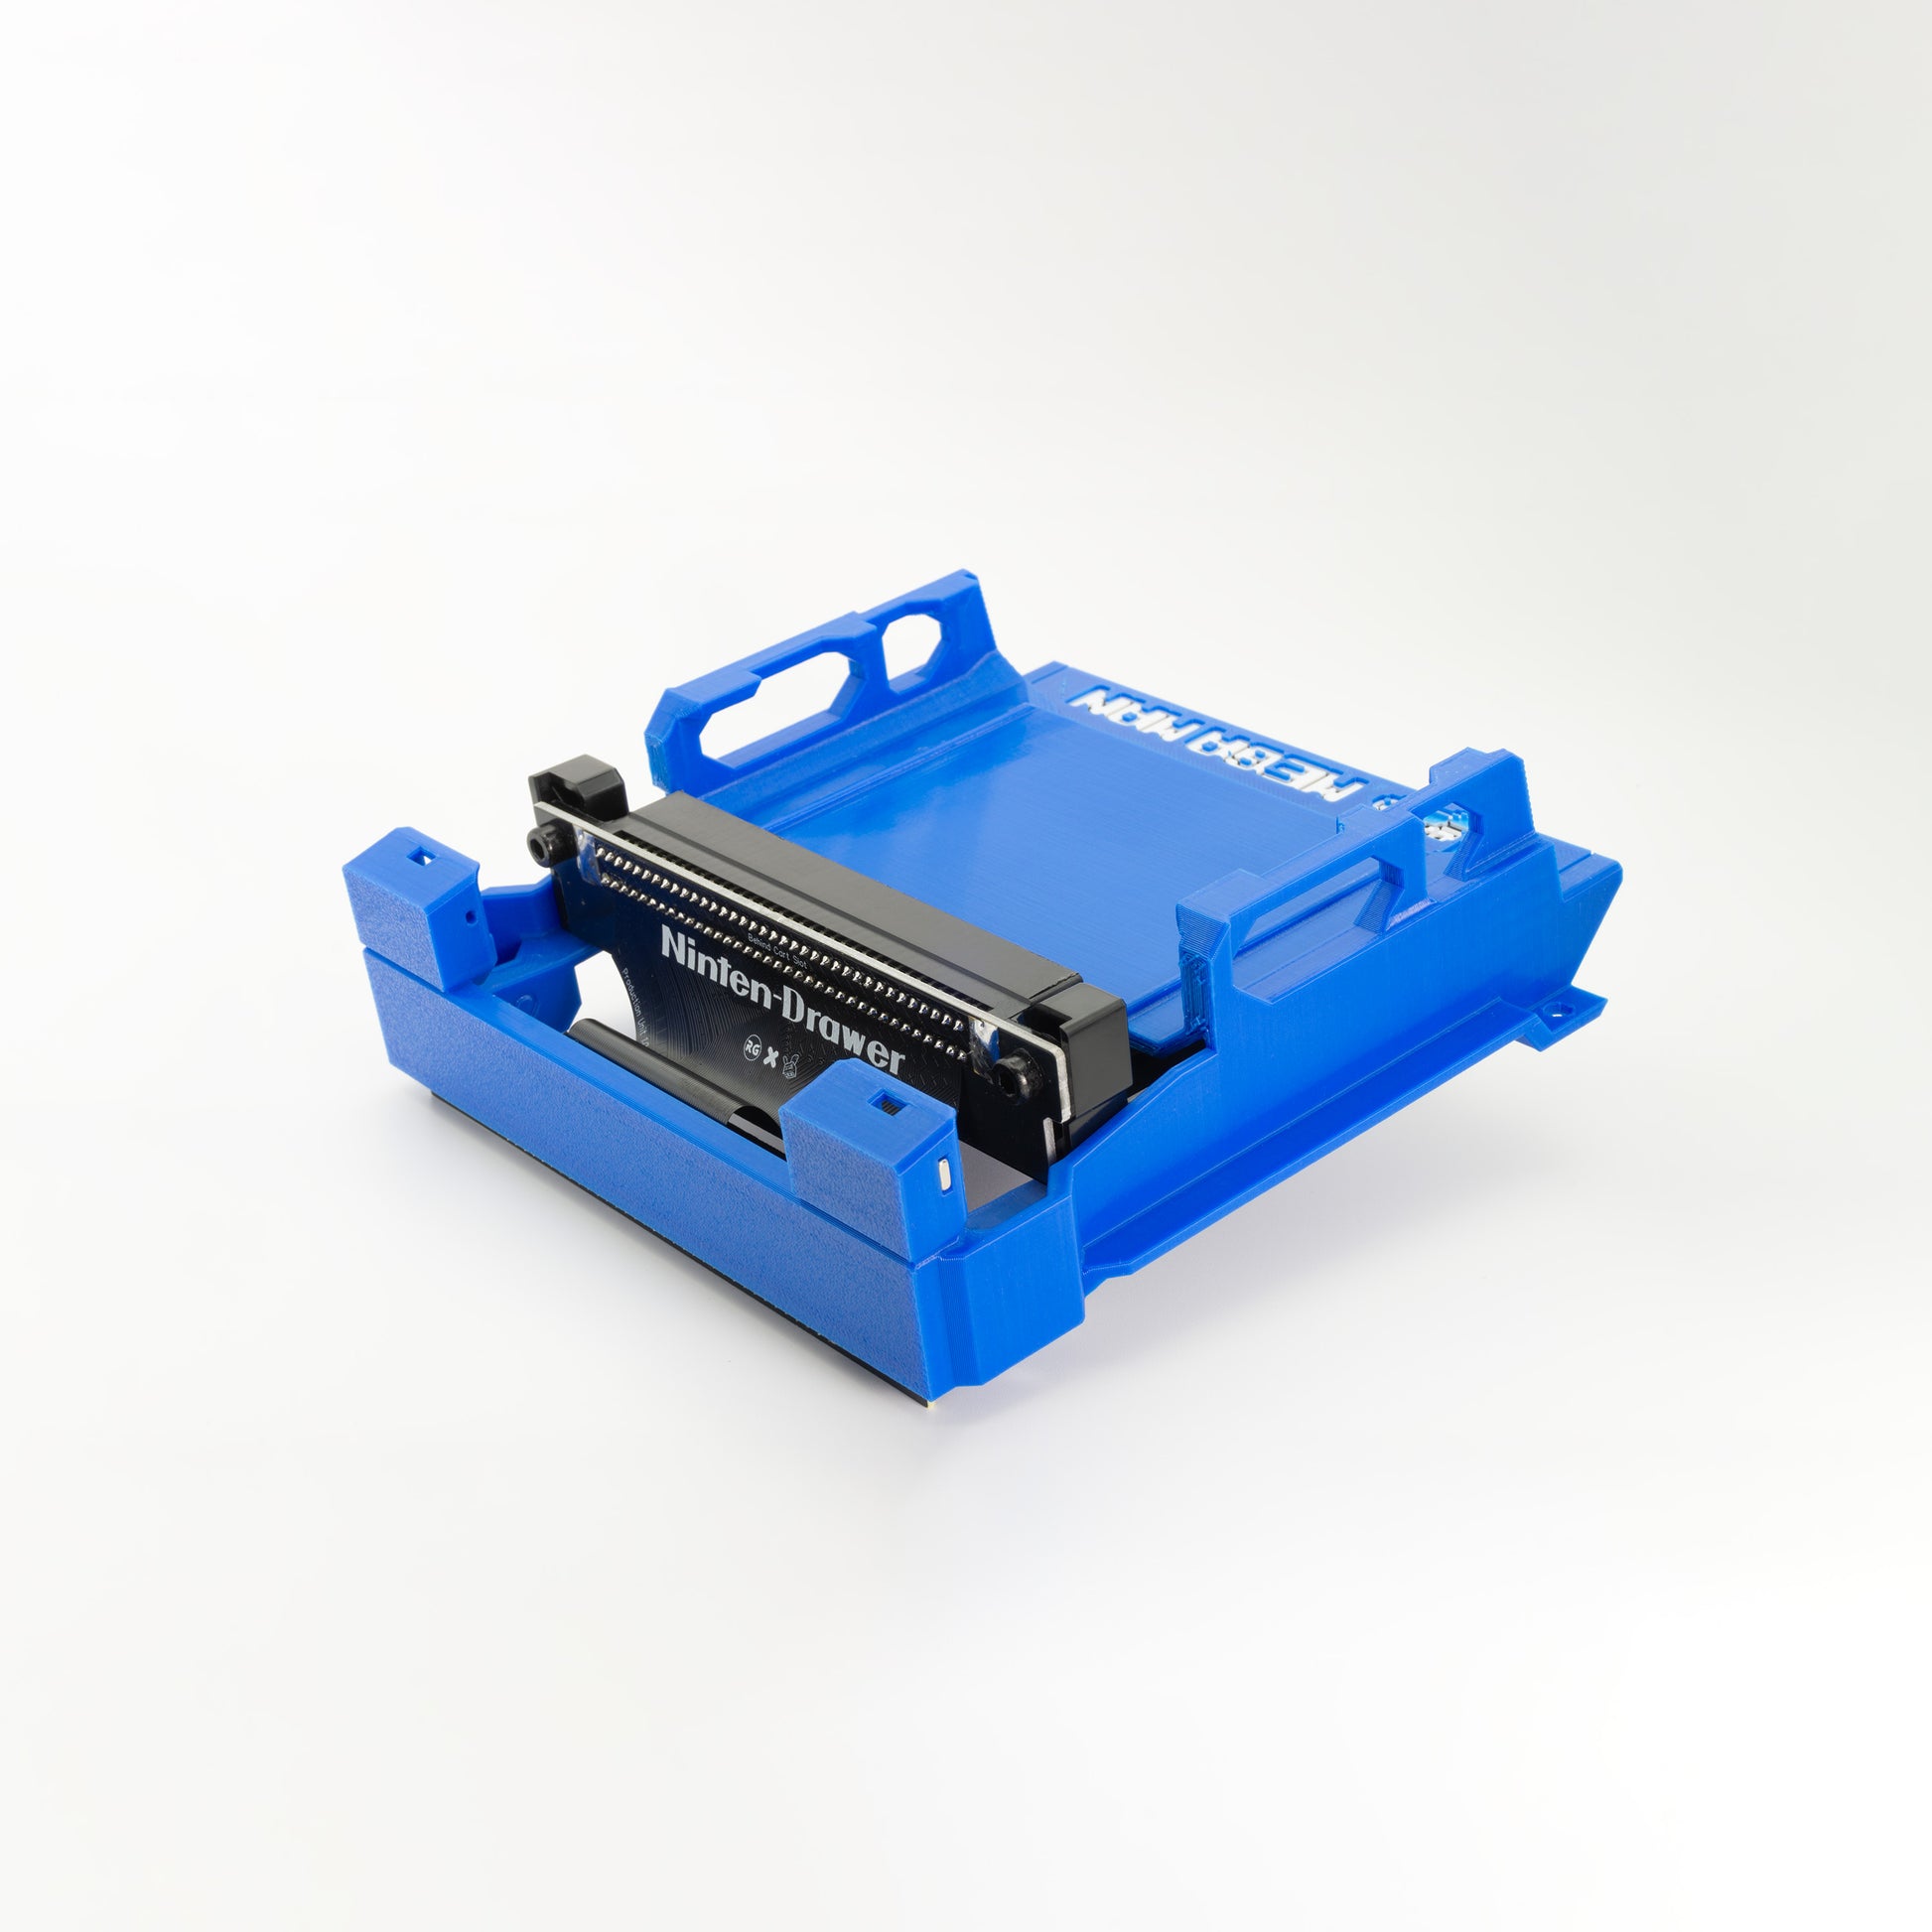
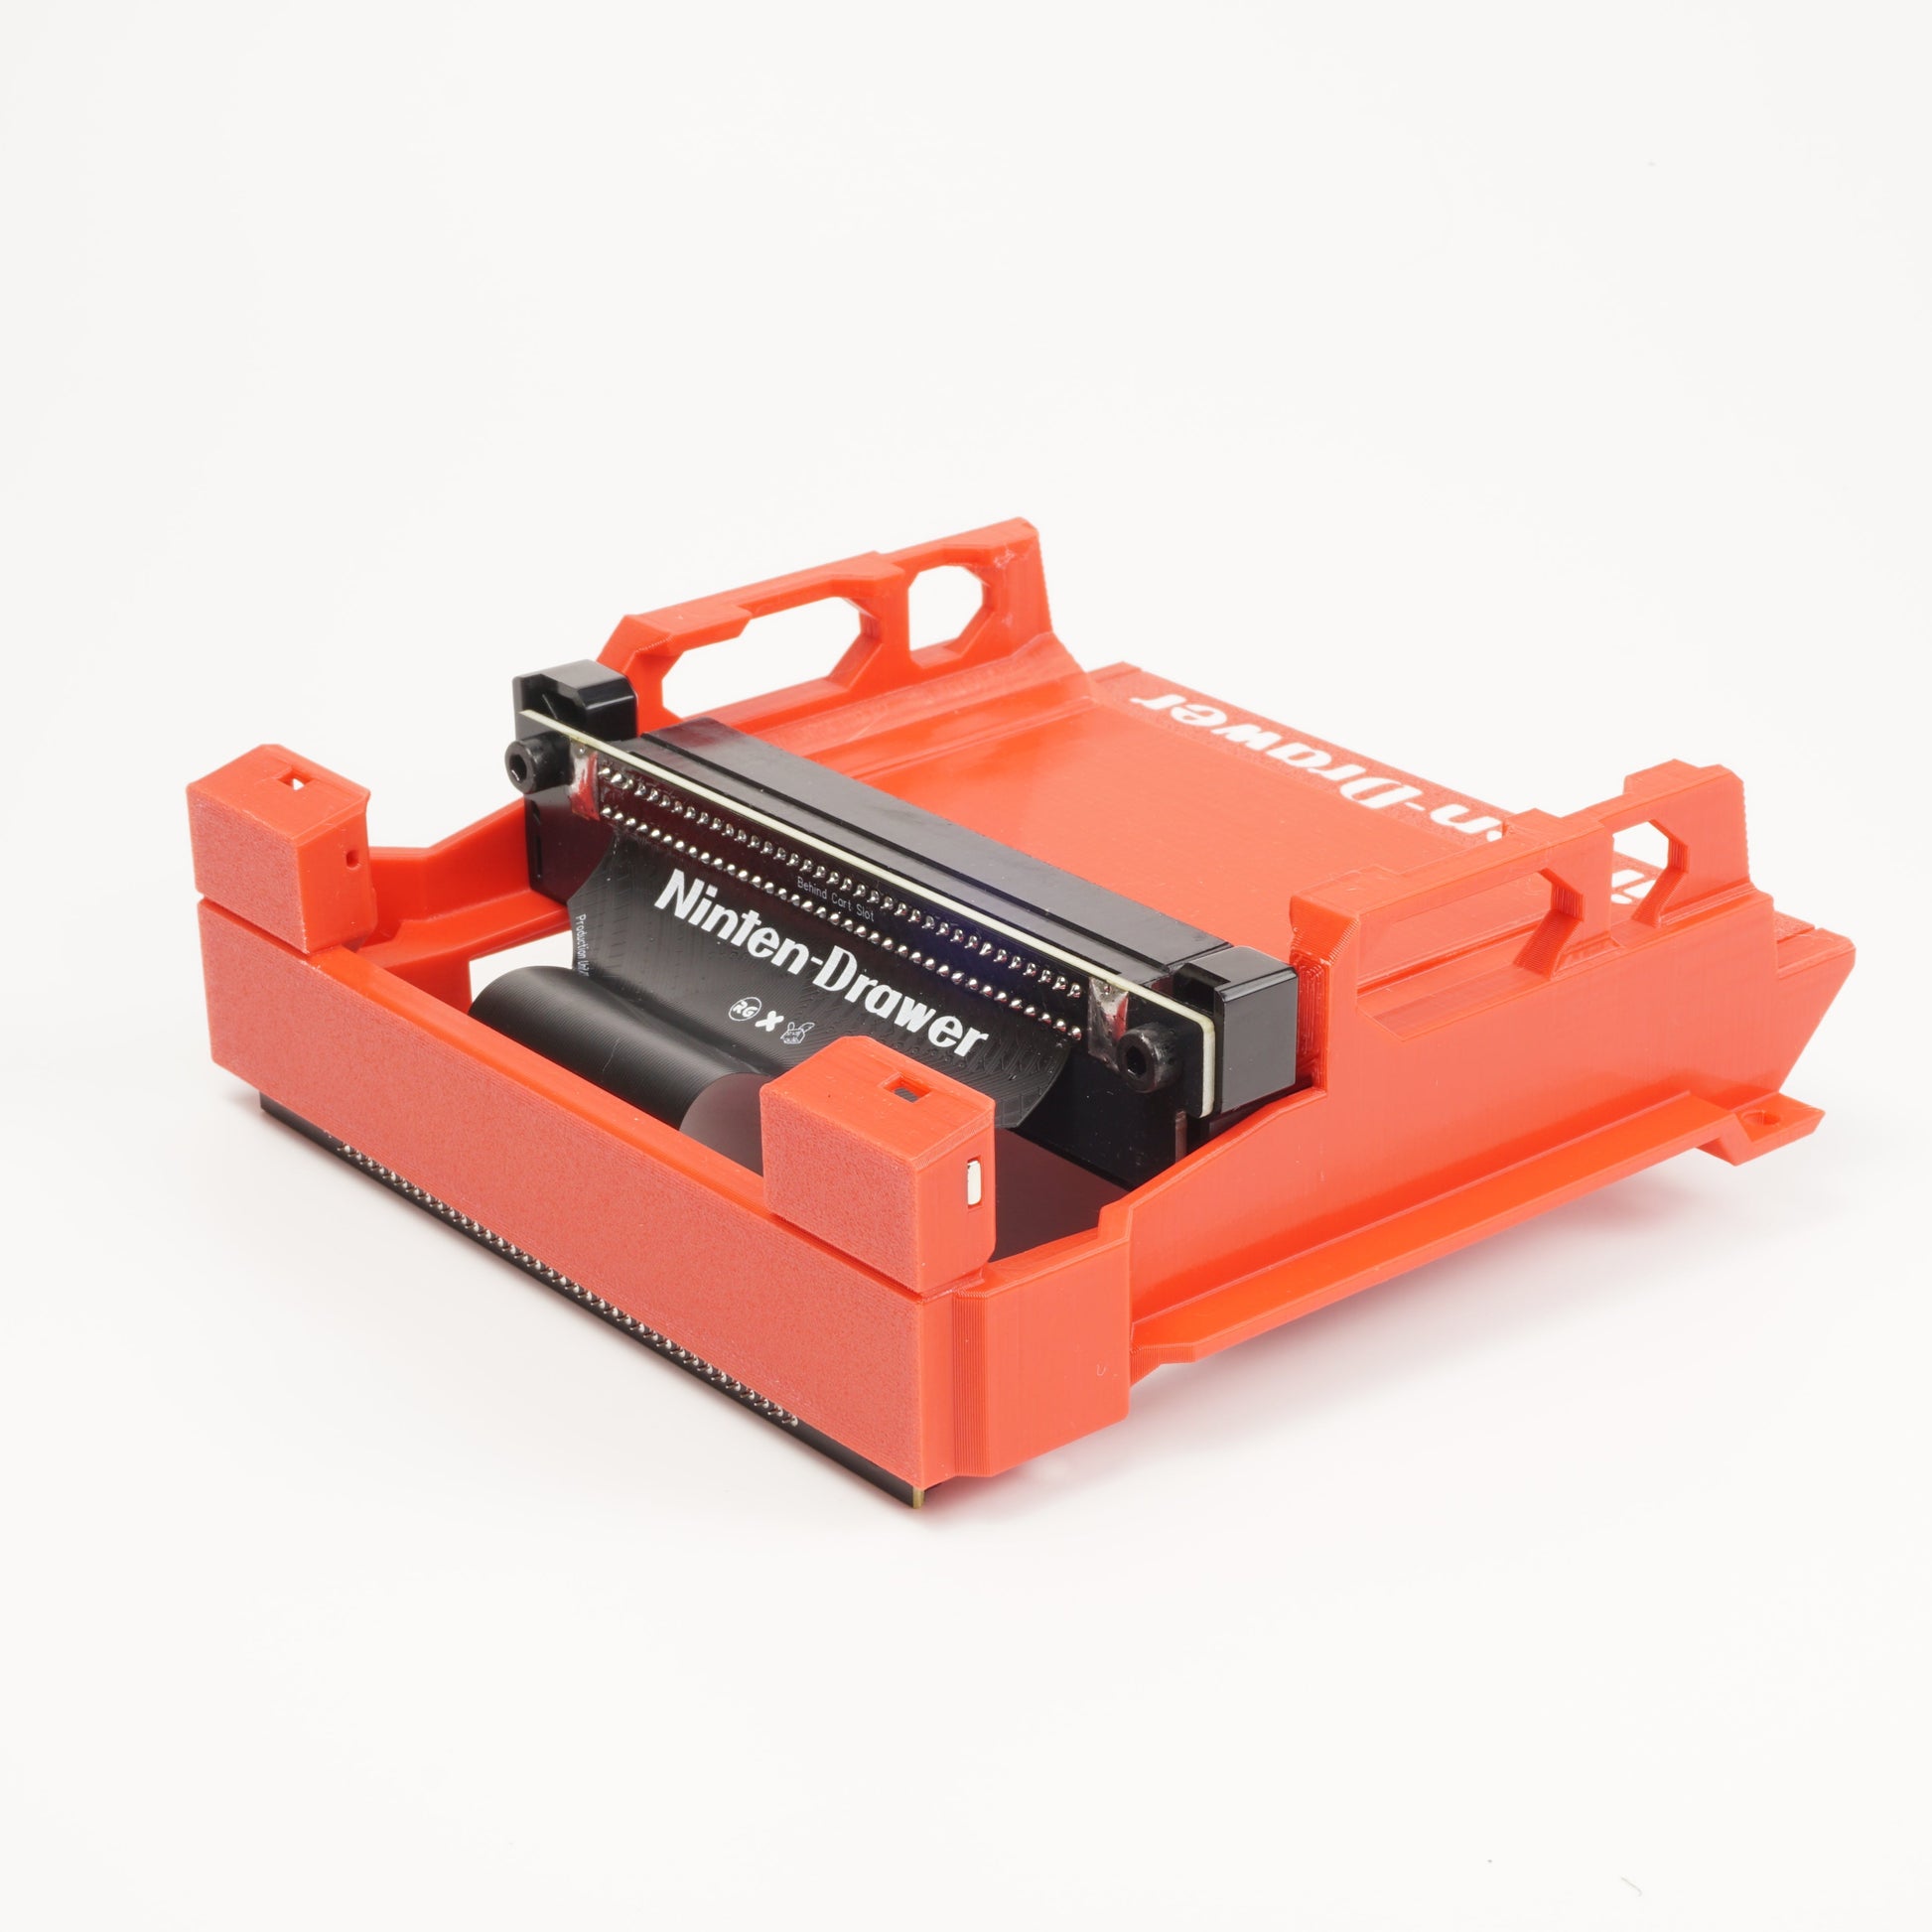
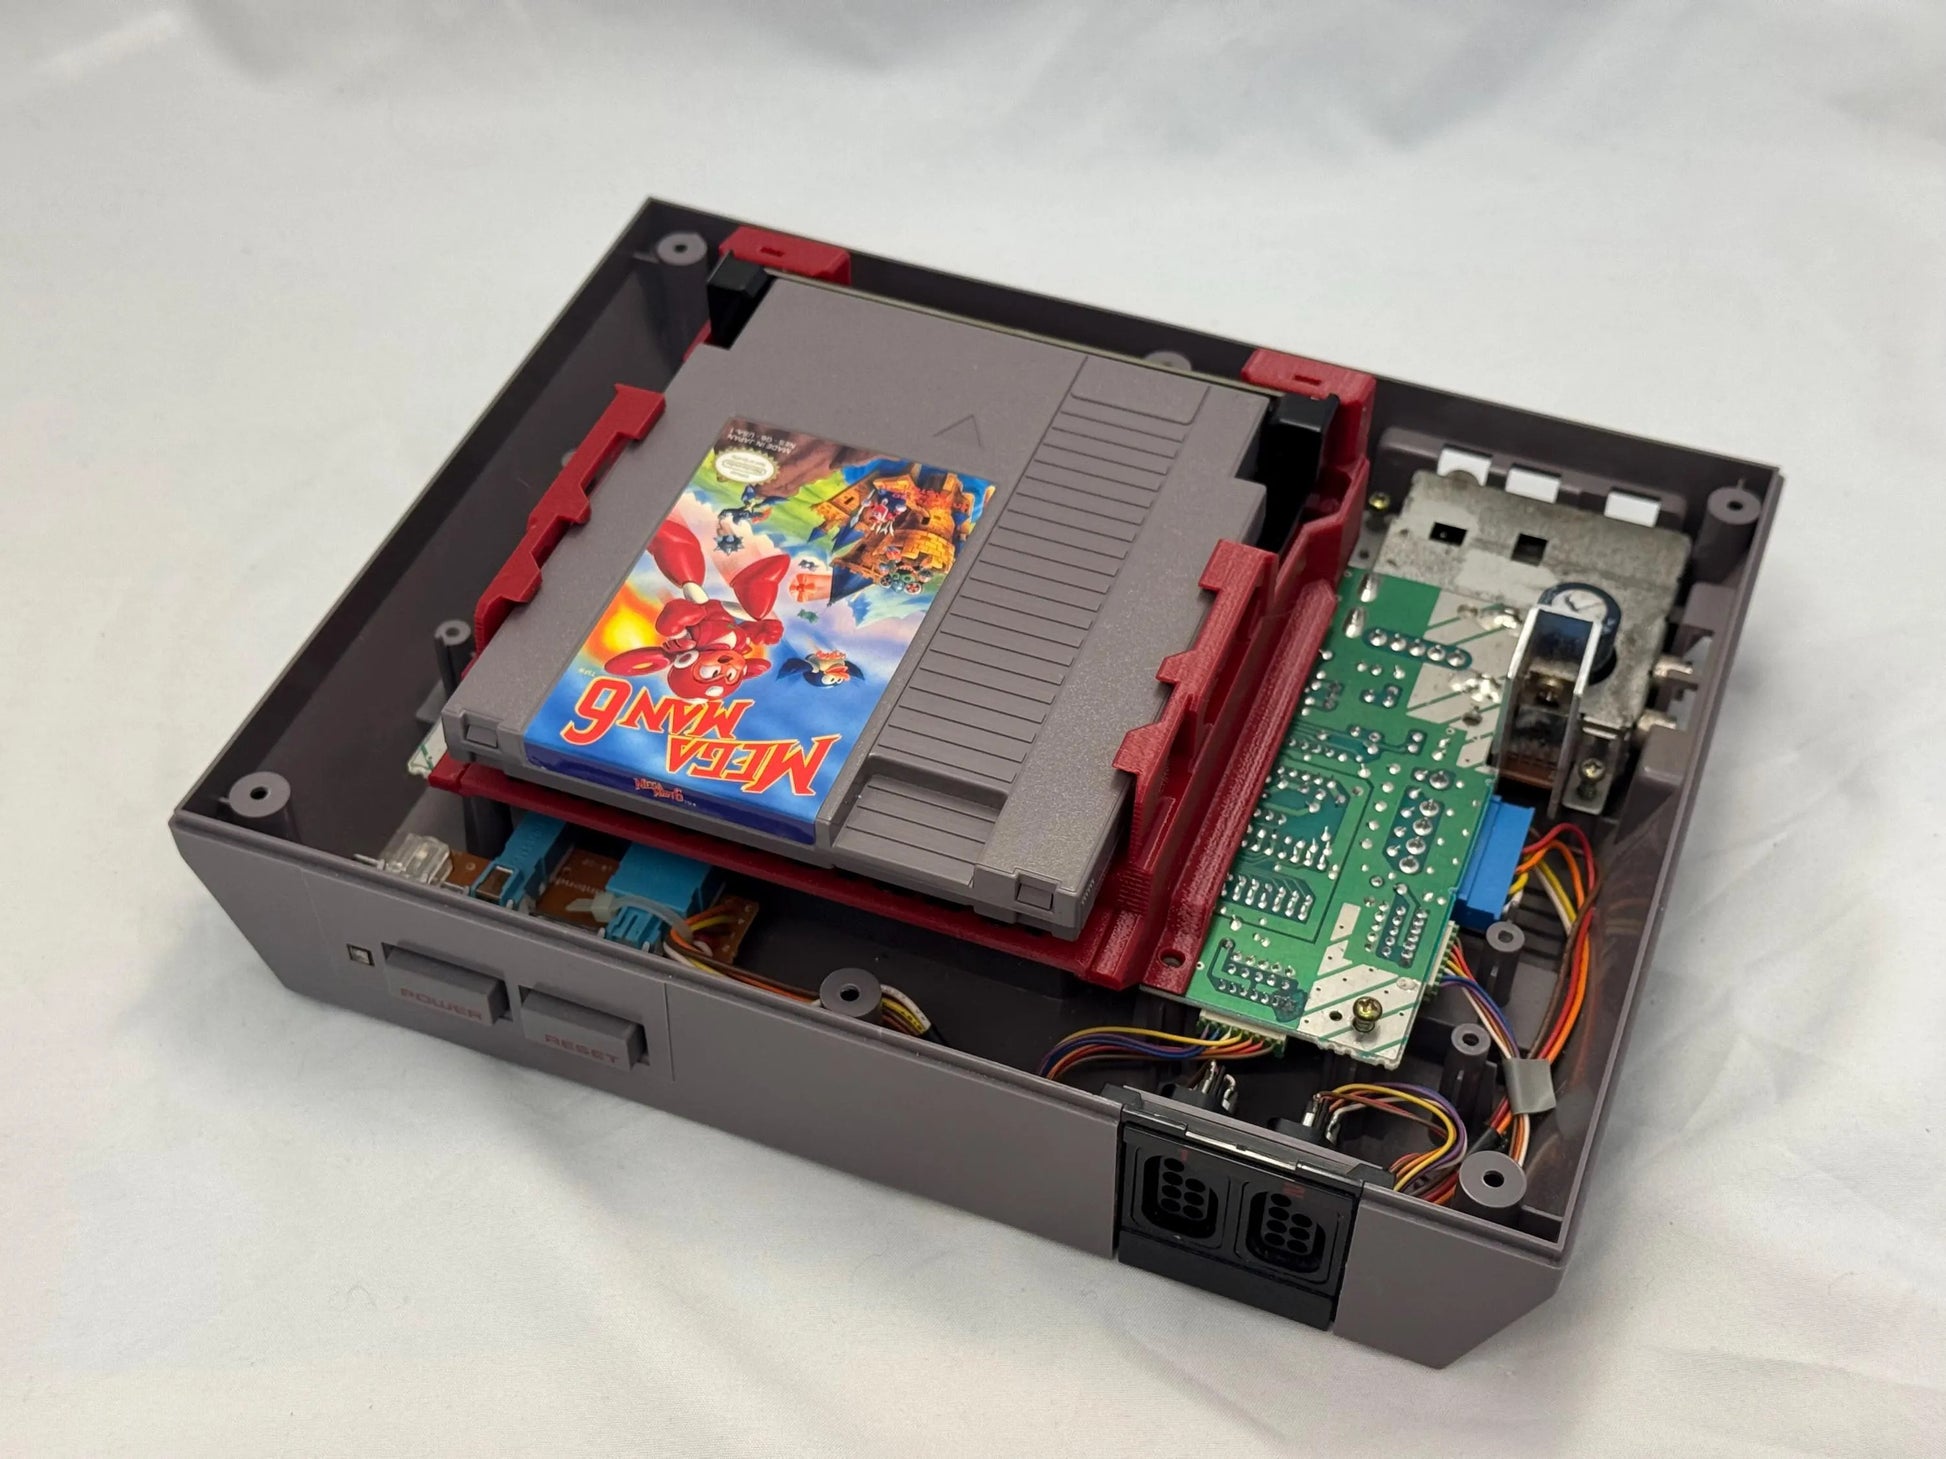
Instead of bending pins and relying on the original push-down tray geometry, the Ninten-Drawer uses a NES-101 / "Toploader" style connector—the style many people associate with better long-term contact—while keeping the front-loader’s OEM look and feel. It also includes a built-in lockout / region-free bypass, which helps avoid the reset loop behavior that can happen when the console can’t reliably read a cart.
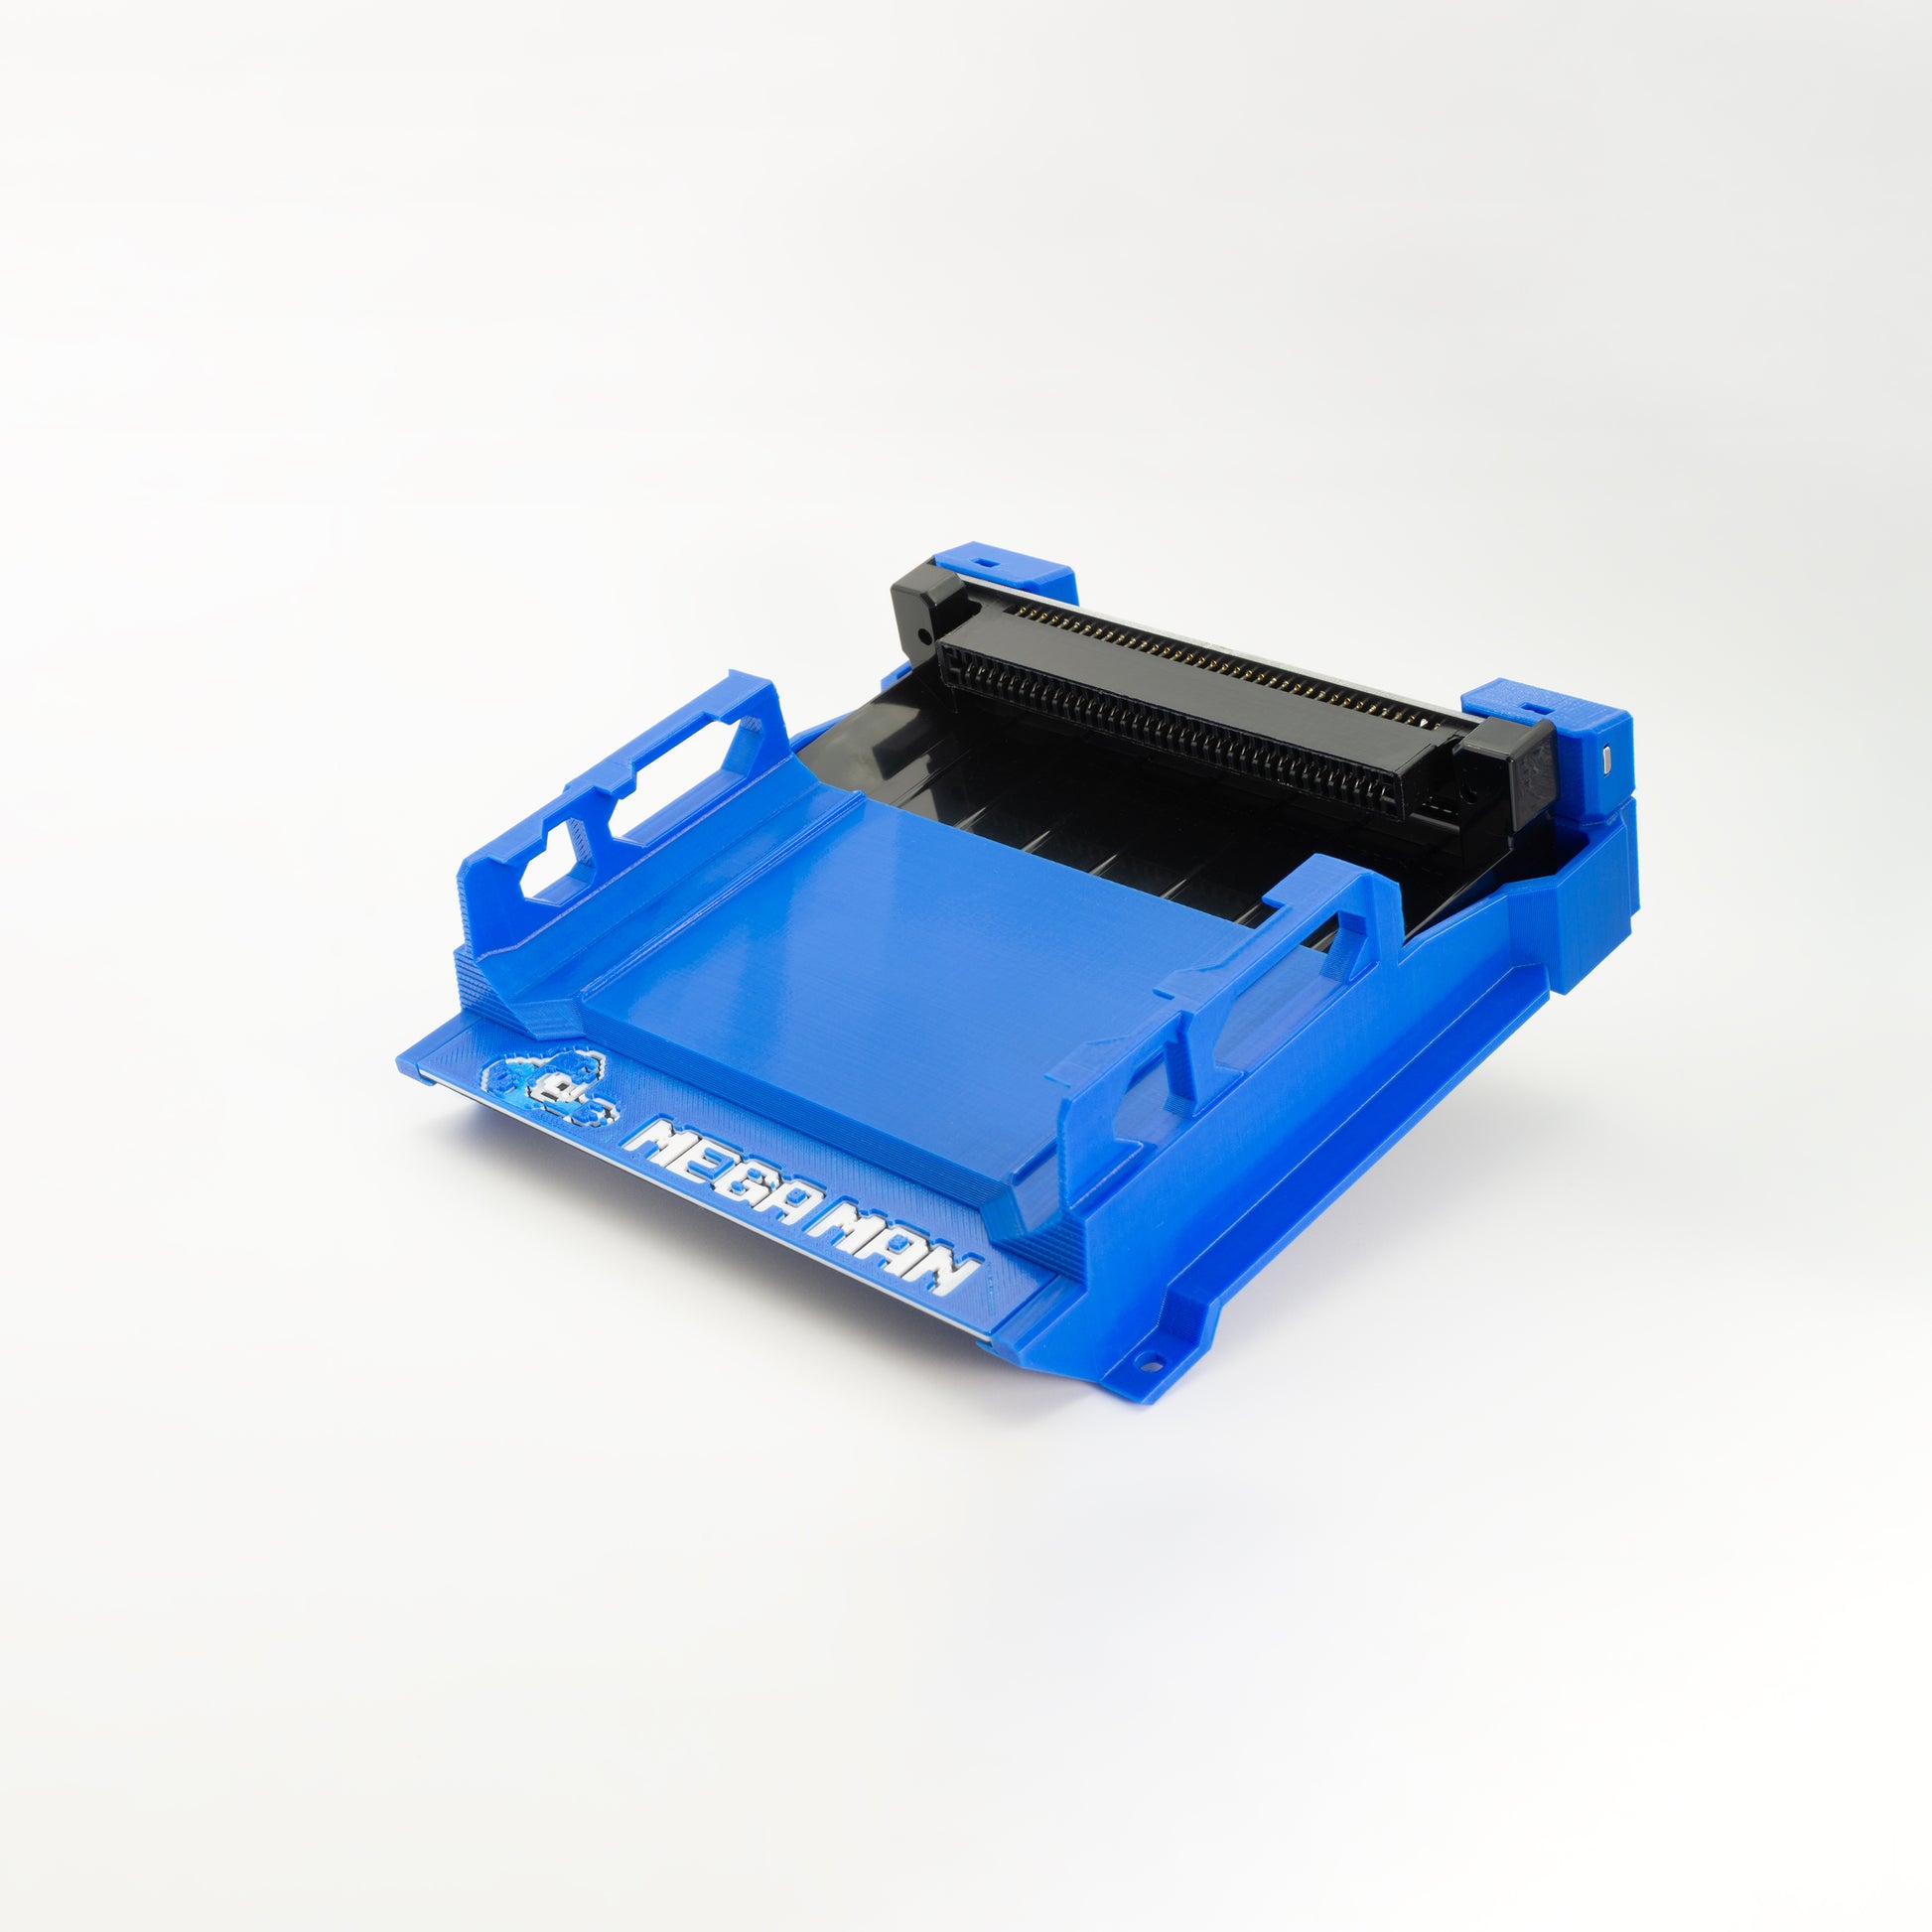
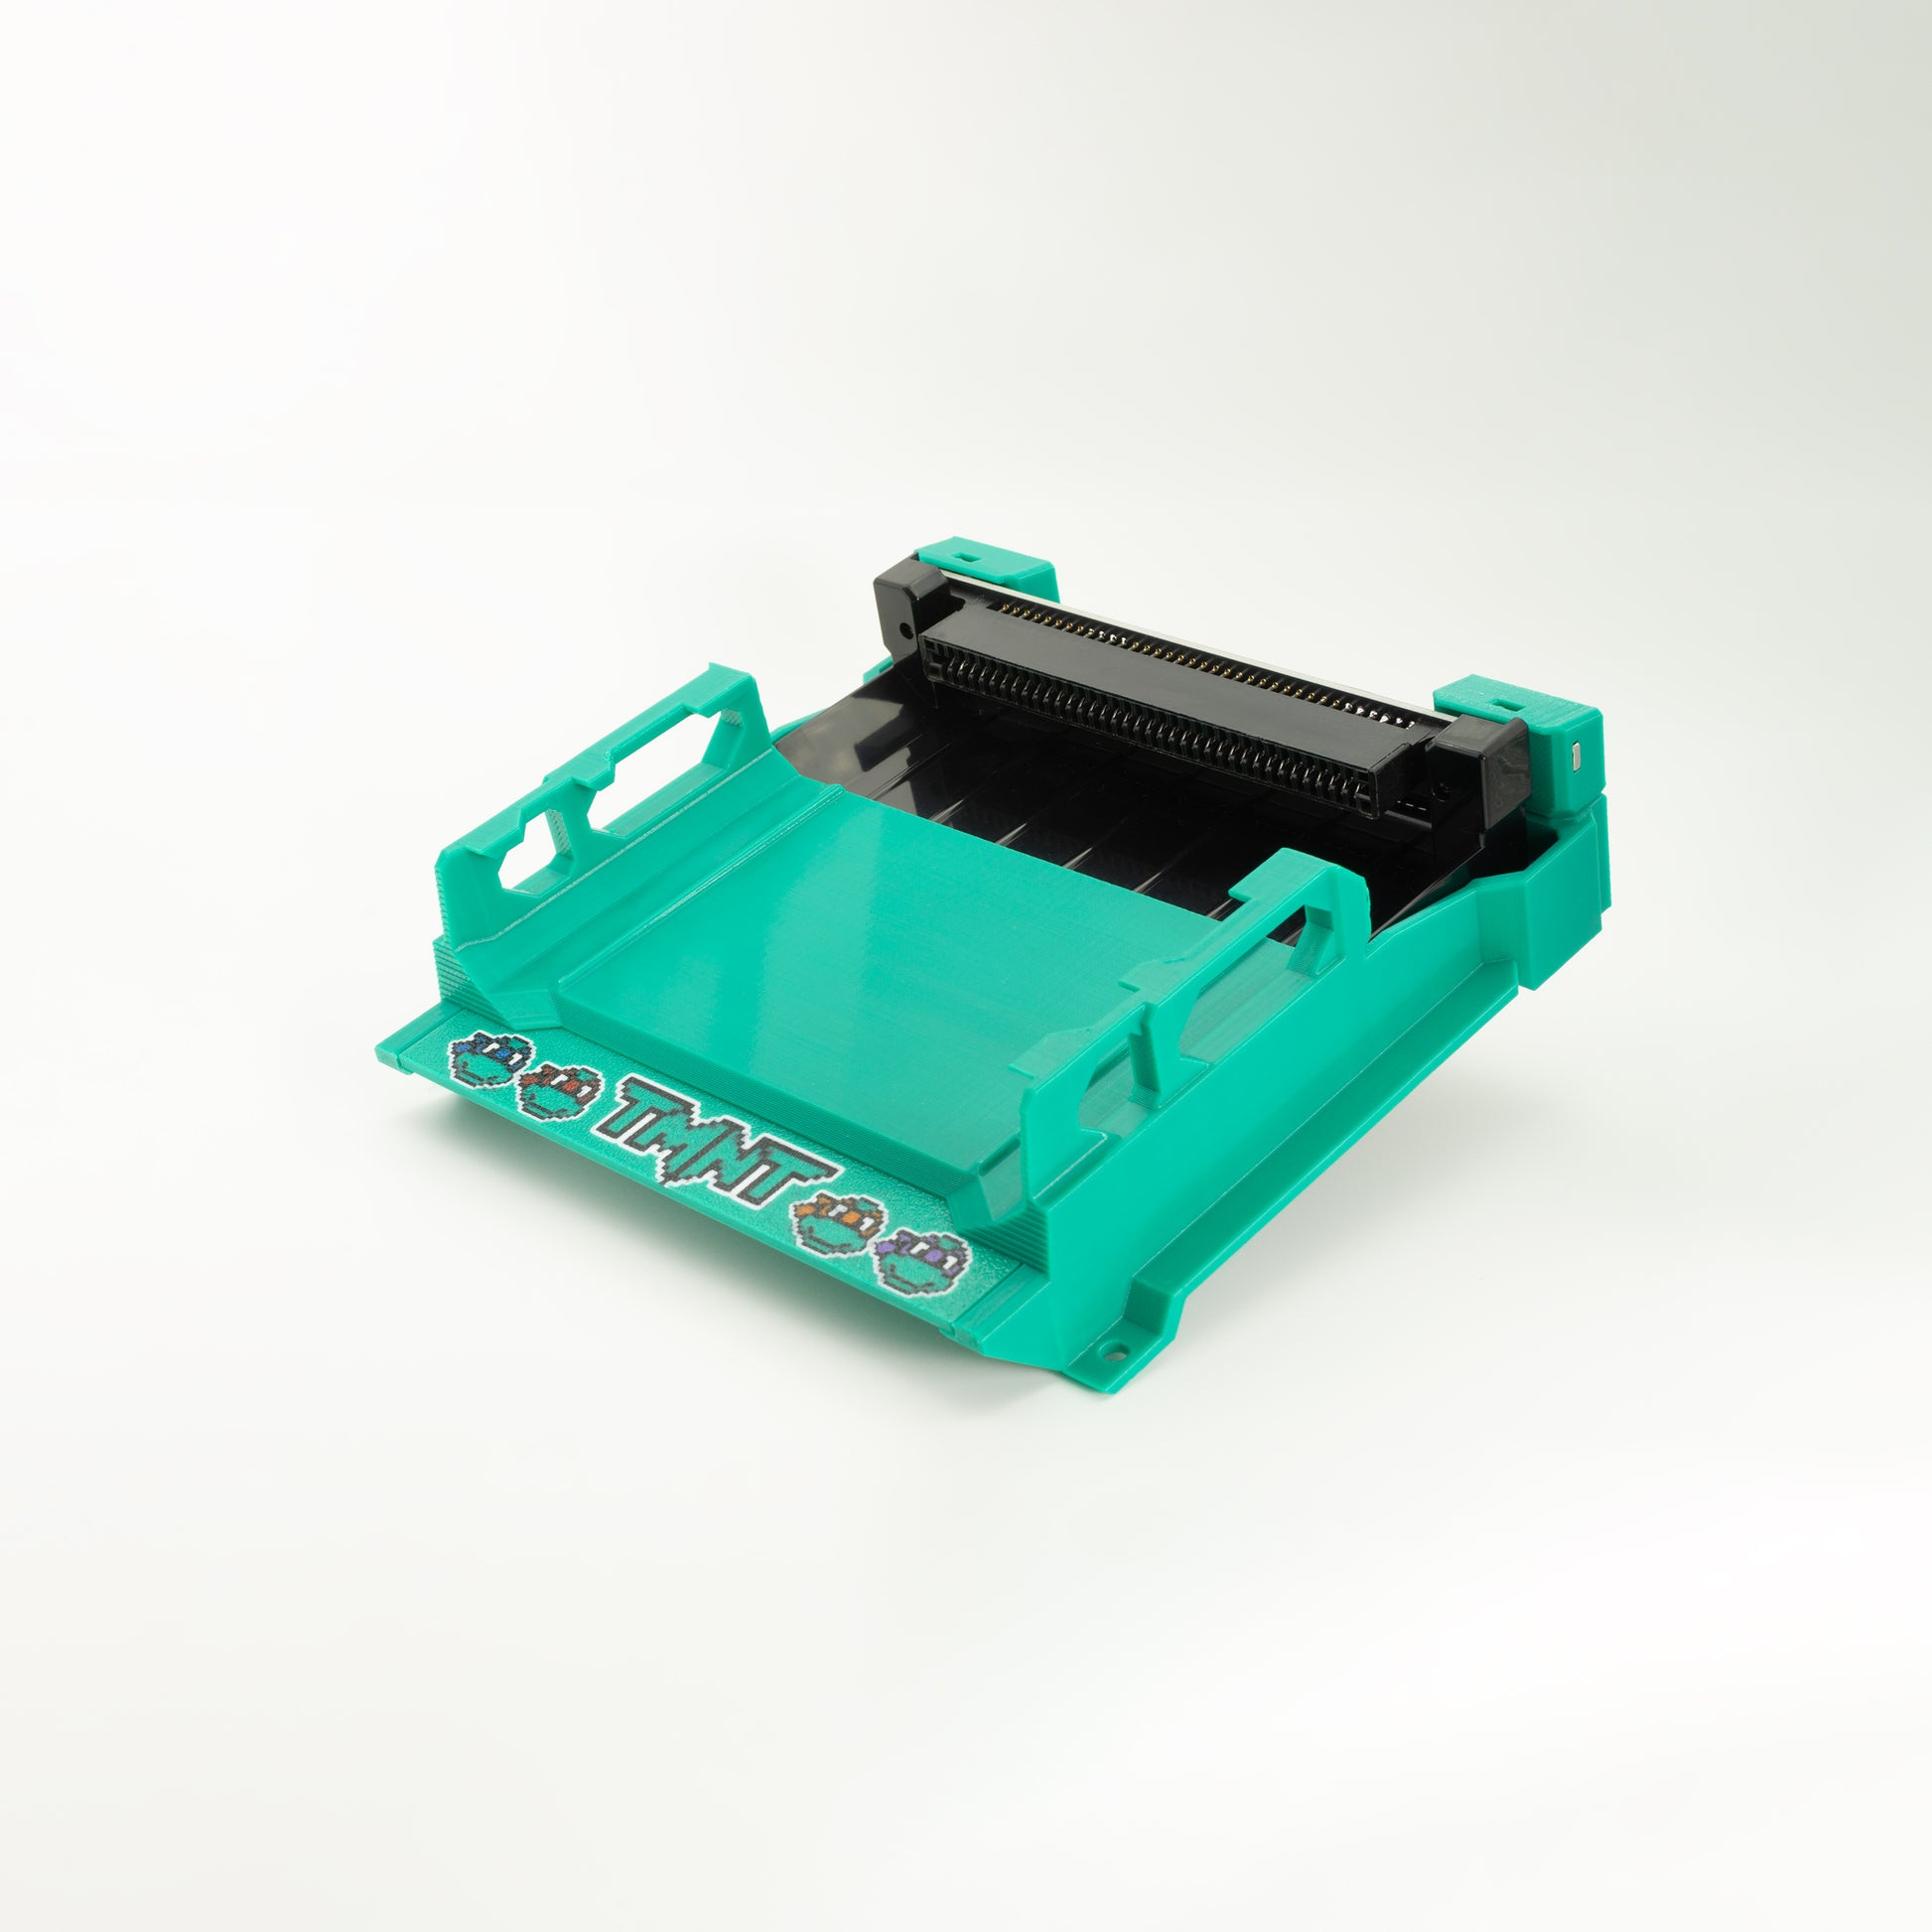
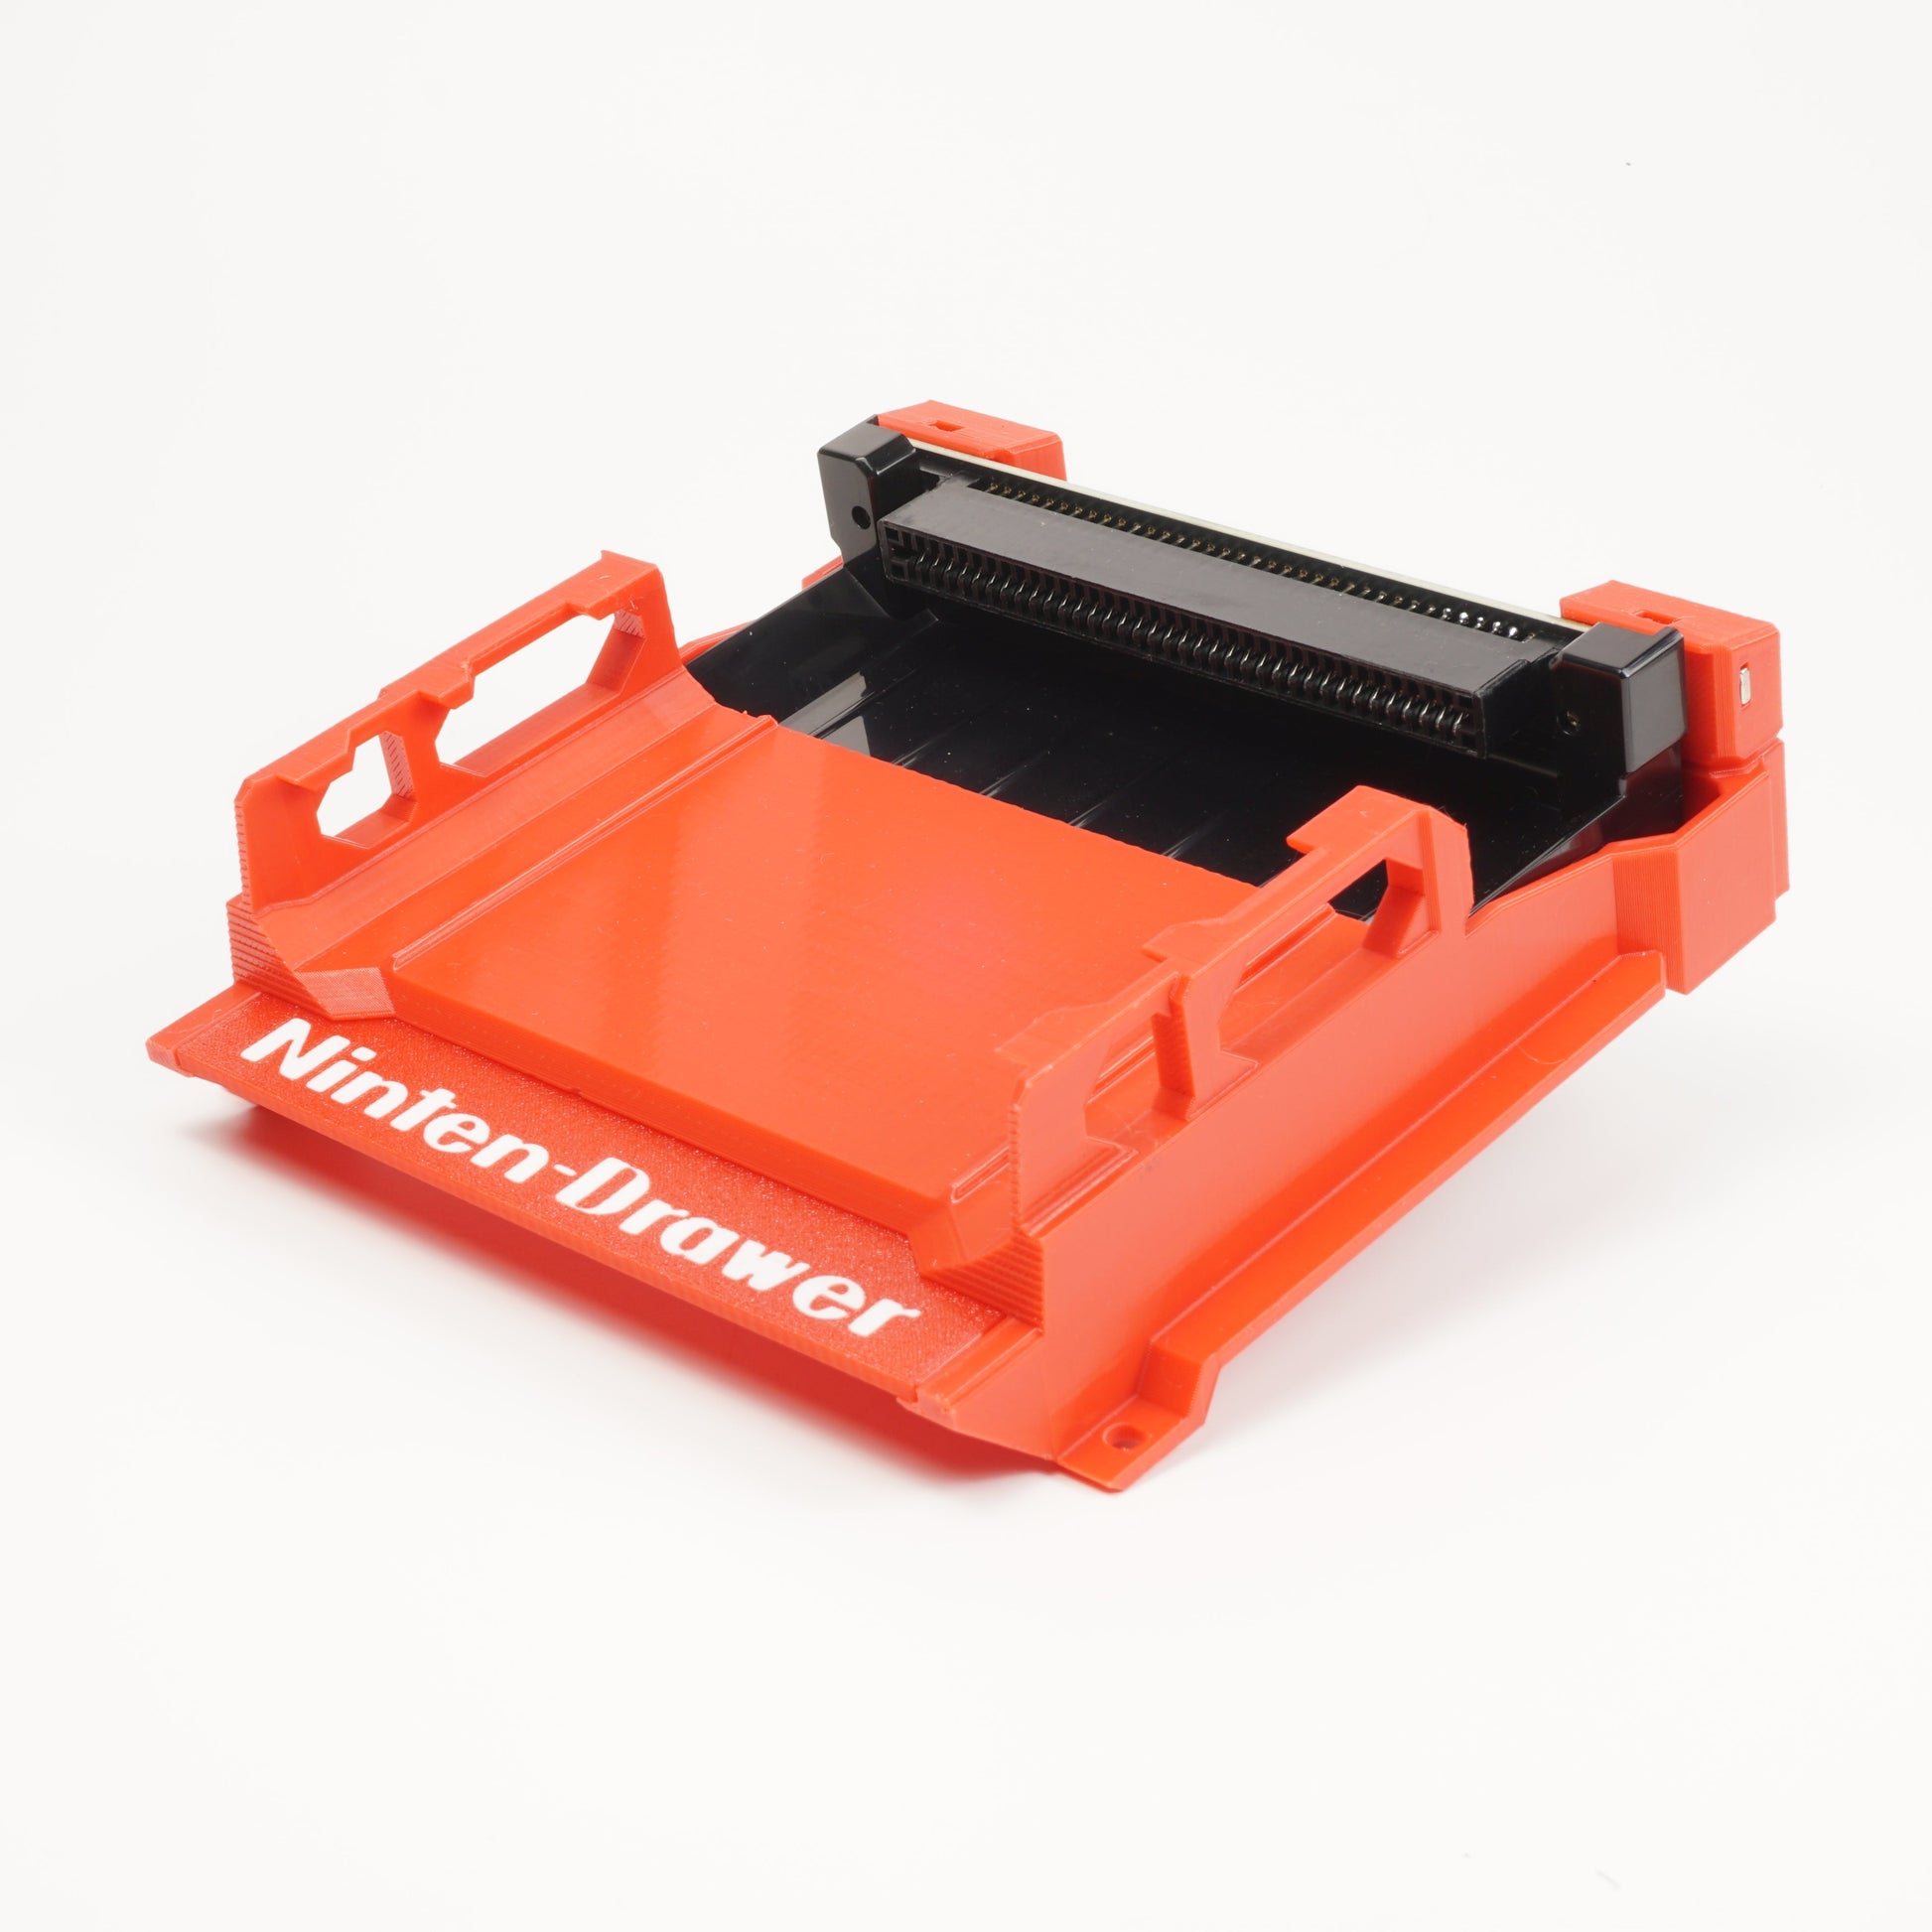
The Ninten-Drawer includes an interchangeable nameplate system with many additional Ninten-Drawer faceplates available for purchase, or use our template to design your own.
The short version
- No more Death Grip: the drawer exposes more cartridge to grab, and the fit is designed to feel secure without the "needle-nose pliers" experience common with some replacements.
- Magnetic “click” seating: an integrated magnetic clasp pulls the cartridge into position with a satisfying snap.
- No soldering, no assembly: it’s a true drop-in replacement; disassembly is the slow part.
- Customizable: Get the color and design you want, or make your own faceplate!
Features
- Easy no-solder installation
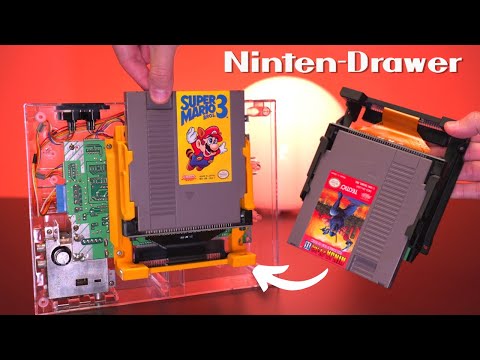
- Drawer-Style insertion/removal
- Built-in region-Free lockout bypass
- Magnetic cartridge clasp holds it in place with a satisfying “click”
- Customizable and interchangeable nameplate system
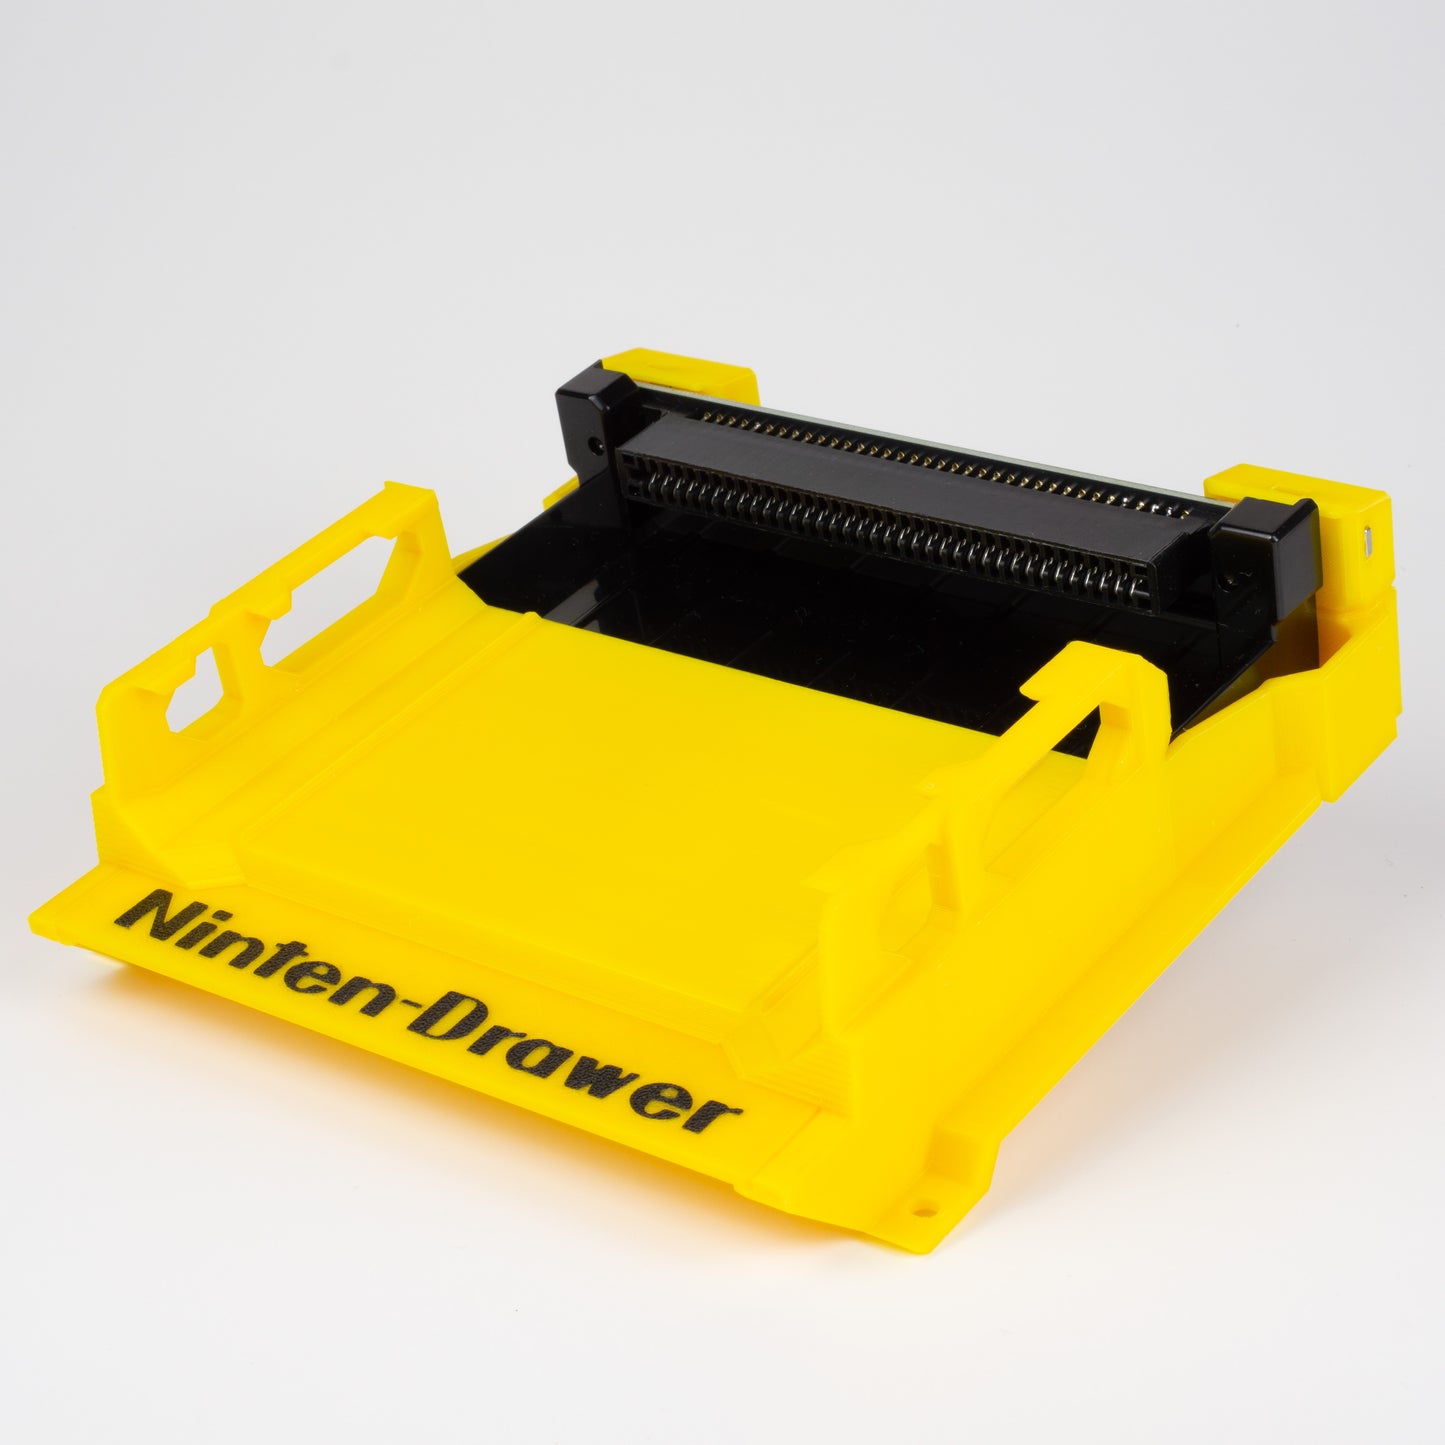
- Injection Molded tray for smooth sliding
- PETG printed structural parts for improved heat resistance and flexibility
What's Included
- Ninten-Drawer unit
- Matching "Ninten-Drawer" Nameplate (Note: special editions ship with their themed plate instead)
- Instructions / QR-linked install guide
Compatibility
The Ninten-Drawer uses a Toploader-style connector, and that matters: some accessories that physically “fit” a front-loader’s original ZIF/tray setup won’t fit a Toploader-style slot.
After extensive real-world testing, the rule of thumb is: If it works on a NES Toploader, it will work on the Ninten-Drawer.
Game Genie
Not recommended / not supported. The Game Genie PCB is unusually thick; it can apply enough pressure to permanently bend pins in Toploader-style connectors. An original Toploader adapter exists but is often expensive, so we don’t recommend it as a "solution."
"Sticky" carts / unlicensed games
Some unlicensed carts/accessories use thicker PCBs than Nintendo originals, which can increase friction. If a cart feels tight, don’t yank from the middle—pull from alternating corners ("wiggle") for an easy release.
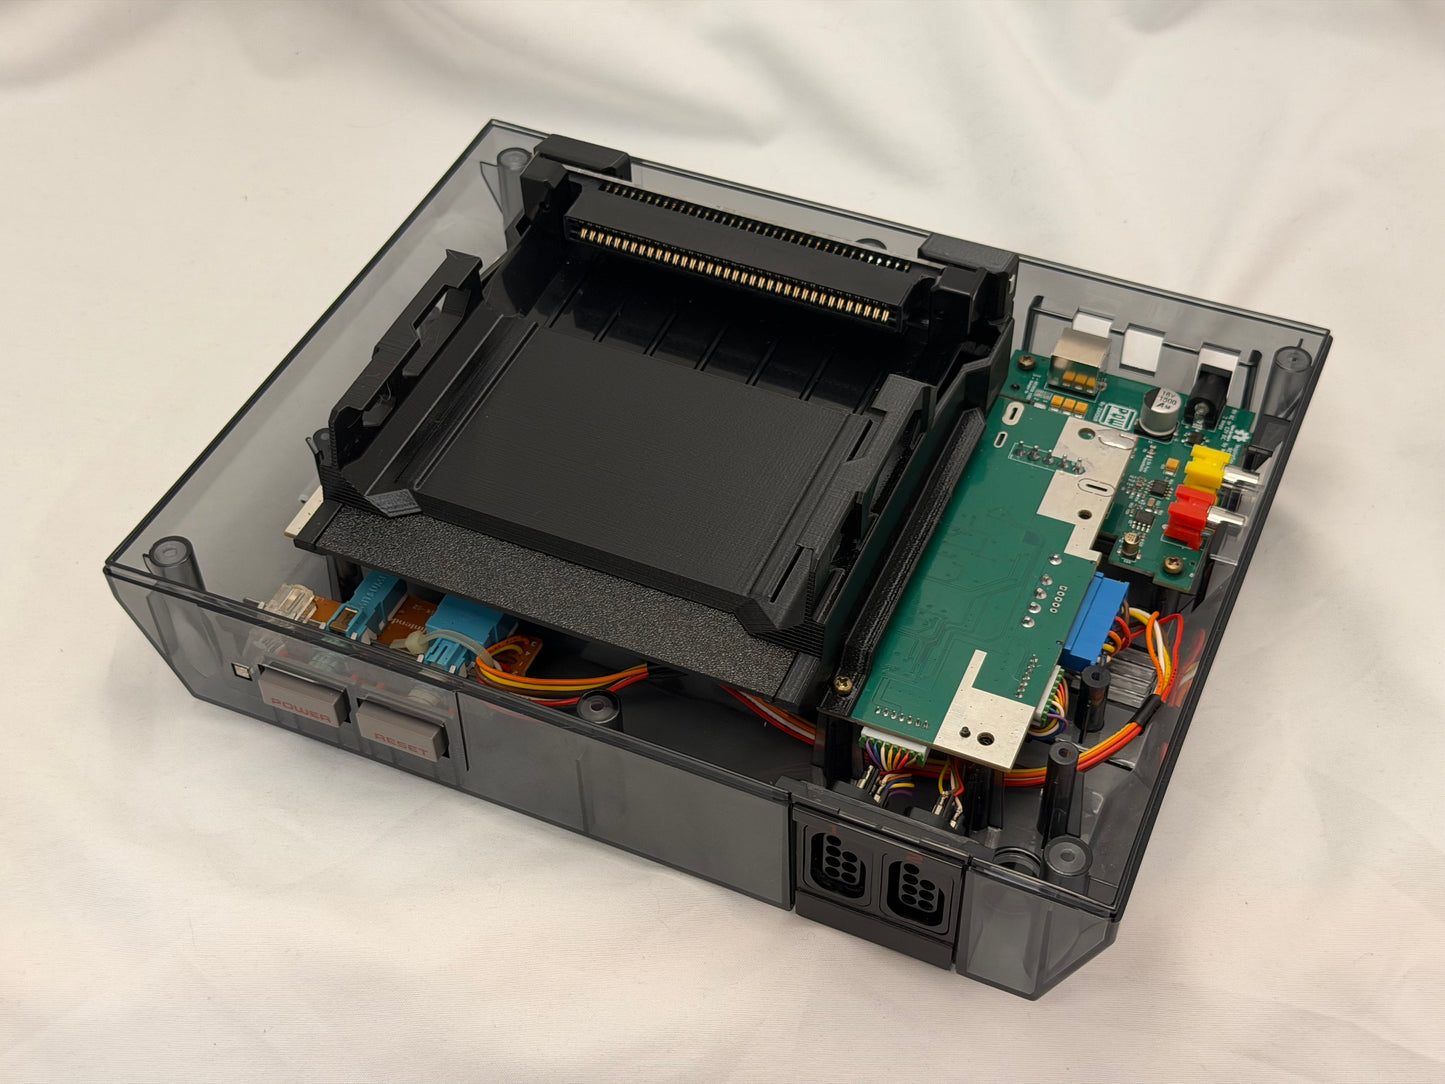
Installation Overview
Tools: Phillips screwdriver. No soldering.
High level: open the NES, remove RF shielding + old tray/connector, slide in the Ninten-Drawer, secure, test, reassemble.
Many installers report it’s straightforward—often ~5–10 minutes once you’ve opened an NES before (disassembly takes longer than the actual swap).
First-boot "blinking light" after install?
This is usually just the region-free bypass syncing. Press RESET quickly 6–10 times until you see the behavior change, then 6–10 more times until it finishes.
Pro tip: clean your carts first
Even a perfect connector can’t read through grime. Clean the cartridge contacts before you “judge” the new slot.
Installation Instructions
Installation Instructions
- Disassemble NES to remove old connector.
- Slide in the Ninten-Drawer; secure with included screws.
- Test cartridge fittings & follow QR/linked instructions
For more detailed instructions, read our full installation instructions


Perfect
Everything looks and works great.Shipping was not bad at all. Would recommend for any NES lovers out there
Easy to install and works perfectly as expected. Best NES mod ever!
Install was super easy and it provides a much more reliable connection that the OEM 72-pin connector. Pretty fantastic piece of kit.
It was easy to install and the moment I turned it on that game worked perfectly good