How to install the Renaissance N64 Steel Bowl
If you haven't already, make sure to pick up a Renaissance N64 Steel Bowl before continuing on
Instructions
Step 1 - Controller disassembly
Remove the 9 screws from the back of the controller shell to open up the controller.

Step 2 - Take out the stick module.
To do this, remove the 3 screws holding it in place and carefully remove the Z PCB. Finally, remove the wire harness from the controller pcb. Do your best not to pull from the wires.

Step 3 - Open up the controller stick module.
To do this remove the screw holding the gate and lower housing together. Once this is removed fully separate the two halves by opening the clips on the rear. Note, you don't want to break these clips, just wedge your fingernail between the clip that connects the gate and lower housing and the spring should provide enough force to separate the two halves. Repeat on the other side.


Step 4 - Remove the old contents
Remove the bowl, long gear, and encoder pcb from the lower housing. Remove the encoder wheels from the bowl and set them to the side. When doing this step make sure not to bend the arms more than necessary, as you don't want to break them.


Step 5 - Place the encoder wheels onto the renaissance bowl.


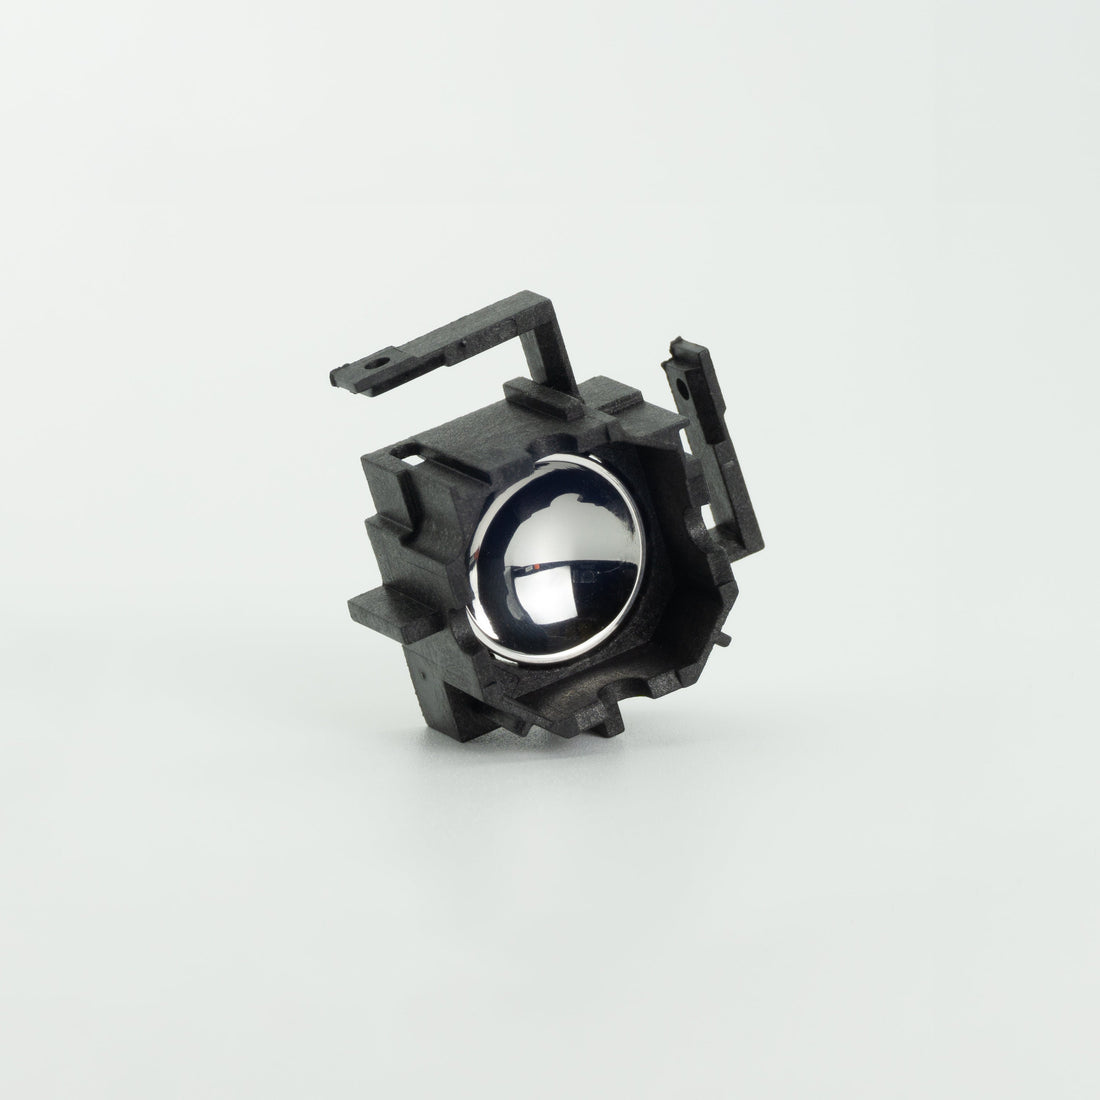
Step 6 - Place the renaissance bowl into the lower housing.
Then using your finger, firmly seat the bowl insert into the bowl housing and lower housing. Once complete, put the long gear and optical encoder pcb back into the lower housing


Step 7 - Check the status of the nib on your stick
You want to make sure your nib is clean and does not have any dirt or other impurities on it. If dirt or other impurities exist, clean the nib thoroughly, it should look like this once its been cleaned up.

Step 8 - Center the gears
Make sure the long gear and short gear are centered in their respective halves of the module. They should look like this. If you want to add lubrication to the module (which is recommended) now is the time to do so.

Step 9 - Close the module
Place the two halves together taking care not to break the clips on the lower housing. Next, screw the grub screw into place to lock the halves together. Now is a good time to feel the module, make sure everything is smooth and to your liking prior to completing the rest of the reassembly process.

Step 10 - Reassemble the controller
Refer to steps 1 and 2 to reassemble the controller. You can also test the controller to make sure everything is working correctly without putting all the screws in, but if you do so, just note that there will be a bit more deviation in use due to the module not being locked in place.